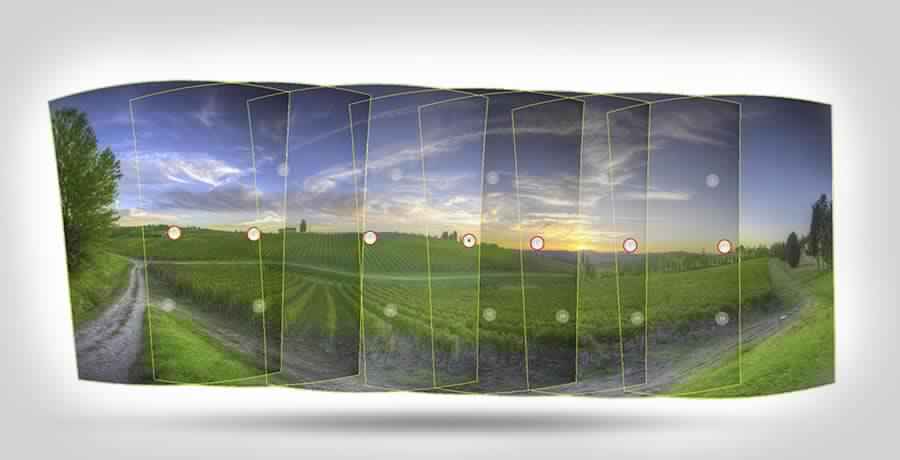
Panoramic photo stitching process
Combing images helps you to perceive the context in more detail. This technique has innumerable benefits other than that. The good news is that creating panoramic images is now quite easy using Photoshop. The below steps will guide you in getting the desired results. This is the basic method that most of the professional companies offering image stitching services follow; they in fact do many more things for assuring excellence.
Let us see the 9 step process for panoramic photo stitching
- After choosing the file, select the Automate and photomerge options. This command can also be invoked from Lightroom for any group of selected images. Just right click after selecting them, choose the ‘Merge to Panorama in Photoshop’ from ‘Edit in’ Option.
- After clicking the menu named ‘Use Pop-up’, choose files or entire folder.
- Now browse button has to be clicked and you can navigate the files or the folders that you need to use.
- Choose ‘Blend Images Together’ option for enabling the blending of colour and exposure, Vignette Removal for correcting any type of natural lens darkening at ends and Geometric Distortion Correction for repairing any type of lens distortion.
- For merging the photos, select the ideal layout option.
- Now click Ok for beginning the process of Photomerging. On this, the entire images are opened and assembled.
- After the process completion, you will be shown the new file.
- In case if any distortions are there, select all the layers by clicking and pressing the Shift button simultaneously.
- Then conversion to Smart Object has to be done for creating a merged copy; in case if there is a need, it can be modified.
If you can do things by yourself, its fine but still hiring expert professionals offering photo stitching services will guarantee perfection.