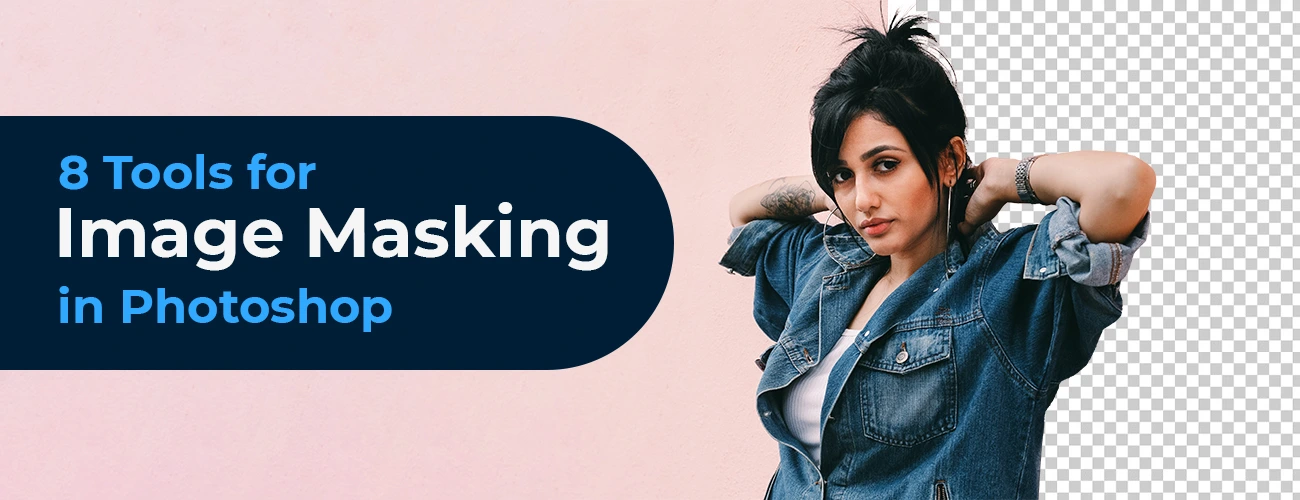
Image Masking tools in Photoshop
Adobe Photoshop is a boon for designers. It has made every conceivable design possibility a reality. One of the most popular and highly valuable Photoshop techniques is image masking, and this chapter discusses Photoshop masking tools. They are normally used for detaching, eliminating, and extracting. Image masking is not a walk in the park; to master it, a lot of time and considerable effort are demanded. Various tools are there for the purpose, such as the Pen Tool, Magic Wand, Magnetic Lasso, and Quick Mask. You can find many more as well. Photo processing is something really crucial, and therefore every newly released version of Photoshop brings along new processing tools. Such tools are easier to use and highly effective.
Masking layers are comparatively better when compared with other techniques. There are negligible possibilities for any sort of distortion. Also, the final result will be neat and clean. Thus, a more professional appearance is bestowed, and final photos look great regardless of their background.
Let’s look at some of the appropriate Photoshop masking tools
-
Background Eraser Tool
 For those pictures with blunt edges, this tool is the best. Other tools for the same can’t deal properly with such complex ones.
 -
Magnetic Lasso
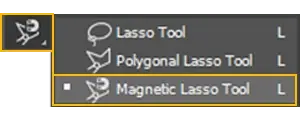 Working almost like a magnet, this tool sticks to target boundaries of the picture thus making a boundary that is transparent. While the cursor is dragged an object’s shape, fixing will be carried out. This tool is ideal for pictures with high contrast.
 -
Selection Tools and Techniques
 Despite of making so much advancement in digitization, Photoshop has still retained the good old features of image masking techniques. Hailing it as the coolest editing options even in the latest versions, Photoshop carries forward the selection tools and techniques section which is actually something more or less like naïve methods mostly chosen by first-time users. But well, they have their own advantages. To fix edges and adjust the pixels of an image, these basic techniques work out well.
 -
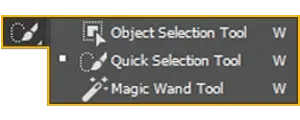
The Handy Magic Wand
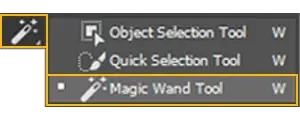 This is yet another basic feature. However, it is great when serves the purpose and leaves you with clear-cut edges after editing the images. All you have to do is to swish across the Magic Wand tool over the image you want to be selected and… Hey Presto! Everything gets covered automatically as desired and you can easily detach that portion for further editing. But the catch here it, this one works perfectly only if the image is of high resolution and has a white background. For the rest, you need to sweat it out little more…
 -
Quick Selection Tool for Swift Solution
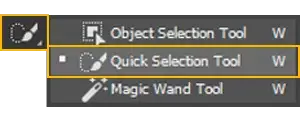 After Magic Wand, the Quick Selection Tool is the next most preferred option. This one helps you to get a basic perspective of the portion that has to be selected, rather than allowing Photoshop to automatically do the selection. Although it is a feasible choice for speeding up things and far better than Magic Wand, it is not a good idea to use it often if one is looking for quality while masking images in photoshop.
 -
Eraser tool
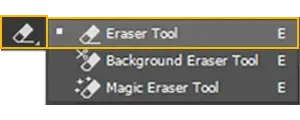 Photoshop has given space to yet another basic tool in its modern facet – the Eraser tool which is also popular inversions like Magic Eraser or Background Eraser. If you are looking for something to easy out blunt edges then Eraser is a good choice. However, it is generally used by beginners or those who are still learning the ropes of Photoshop and if not used wisely the results can be a disaster!
 -
The Pen tool
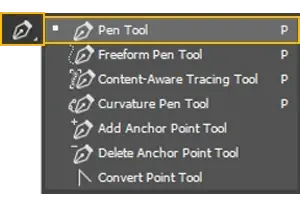 The Pen Tool is not one among the favorite image masking tools in Photoshop for beginners. But let us tell you, it has some remarkable advantages if mastered well. Just like the features of Lasso Tool, the Pen Tool is mainly used for selection purpose; however, this one has a better twist. While you can manually select the portions you want to edit, this tool helps to achieve smoother and seamless curves and save it for editing further. Whereas in the Lasso Tool, once the portion is selected, you have a very limited choice to work around it or have to use it as it is.
Here is how it goes… Start selecting the outline of the image by choosing the Pen Tool. Following this, you have two options – either by clicking and dragging the Bezier handles or by backtracking method where a continuous contour is made and then inserted with a breakup point to create handles in between.
It is better to follow 1 or 2px while doing the outline in order to keep the background at bay or mix with the selected portion.
Once the path is formed, right click and do the selection. Adjust the Feather Radius not more than 1px so as to avoid sharp unclear edges. The achieved Work Path should be renamed in the Paths column to save the selected image portion for later use.
-
Layer Mask to the Rescue
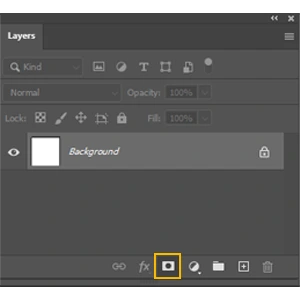 The Photoshop experts have welcomed the Layer Mask to its clan as well. One can opt for this feature rather than the Eraser tool which leaves very little or no scope for future editing of an image portion. Whereas a Layer Mask allows you to go ahead and make any kind of changes effortlessly. The key factor of Layer Mask is that one can depend on all the common Photoshop tools to create a well-defined mask using brushes, gradients, and marquee selections. However, when using Layer Masks it takes white tones into account while passes of black ones as transparent. Meaning, if the area one has selected has black in it, it will be erased while the white portions will be retained. You can fix this, by painting the black areas in white before making the mask.
In order to create a mask, select the ‘Add Layer Mask’ option given in the Layers column. The best method is to paint the background with a brush tool, like how one does with an eraser tool. If you chose the pen-like brush option, it gives you enough freedom to create a natural selection by blending the pressure of the pen with the softness of the brush’s tip.
Note: Images which are complex for making an outline using a Pen Tool or to mask images which have unclear or soft edges.
Final Thoughts
The above mentioned are some of the proven Photoshop masking techniques on which you can depend confidently. However, outsourcing image masking to experts has its own irreplaceable and obvious advantages including an extensively qualified and vibrant band of Photoshop professionals take up the responsibility of accomplishing your project successfully completed within quick turnaround time.