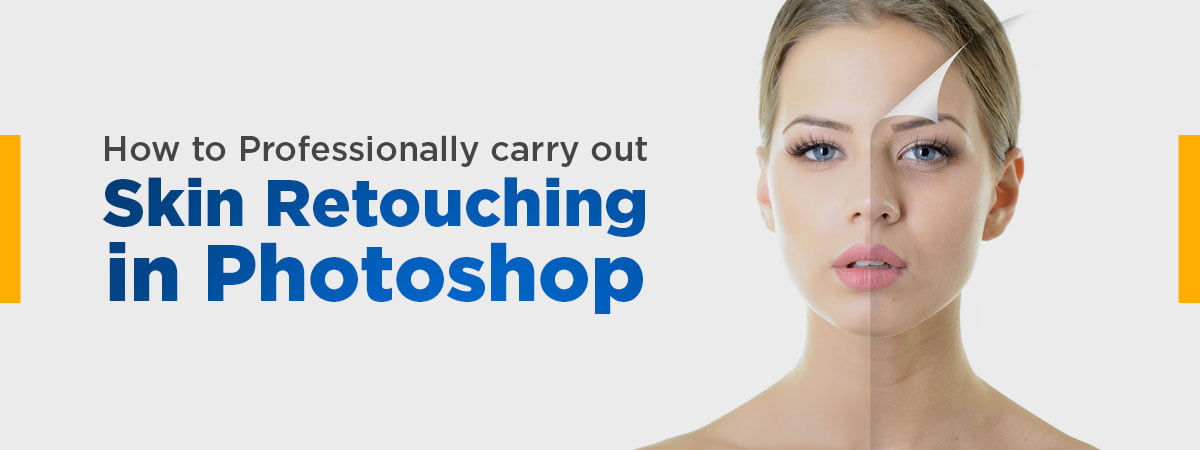
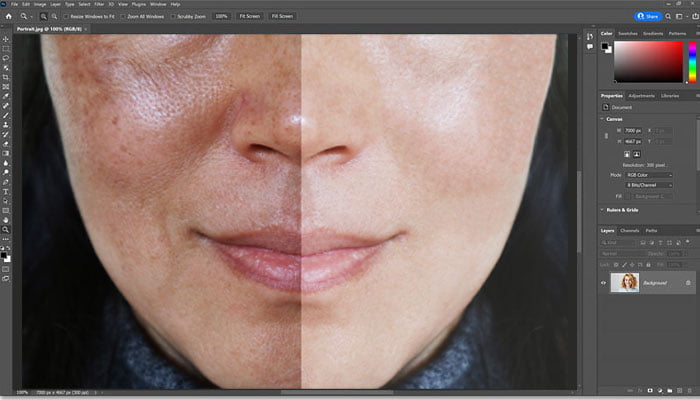
After taking fashion photos of the models, photographers usually face a major problem with the model’s skin. Their skin might have blemishes, roughness, red-eye, scars, etc. that photography fails to hide.
Photographers try different techniques to cover them up during the shoot and are still left with some of them after the shoot. These facial marks, which apparently look like a blot in a beautifully shot picture, can be easily removed through the feature of skin retouching in Photoshop.
Photoshop CC is the best. It is an updated version of Photoshop. It includes several tools like:
- Gaussian blur
- Clone stamp tool
- Healing brush
- Spot healing brush
- Layer masks
- Selection tools
- Apply image
- Blending modes
Let’s discuss some effective tips and tricks for carrying out professional skin retouching in Photoshop and making it look natural.
Zoom for a Macro Approach
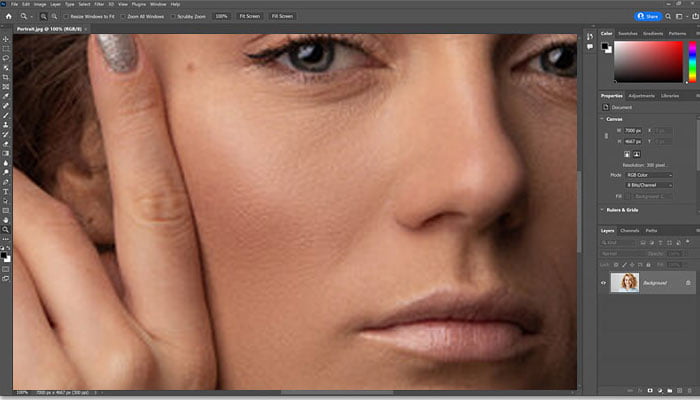
- To pursue a natural standard, you can conservatively zoom with a range of 100 to 200 percent. This helps you see each change and its impact on the skin and decreases the jarring or stark edits.
- Start with an adjustment in the brush size to make the changes you want precisely.
- While using the Spot Healing Tool, you have to toggle the content-aware setting to make your editing easier. This toggling can help instantly remove the blemishes.
Add Some Contrast to Pop
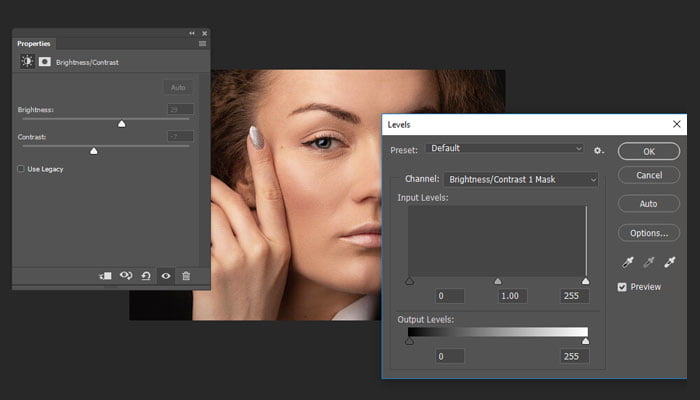
Sometimes your images might look a bit flat while you open them up in Photoshop
- You have to add contrast to help them pop. Use either the level or curve tools to get the best results.
- With Curves, you can go straight into levels. By hitting Ctrl+L on Windows, you can directly open up the level tool.
Cleaning Up Blemishes
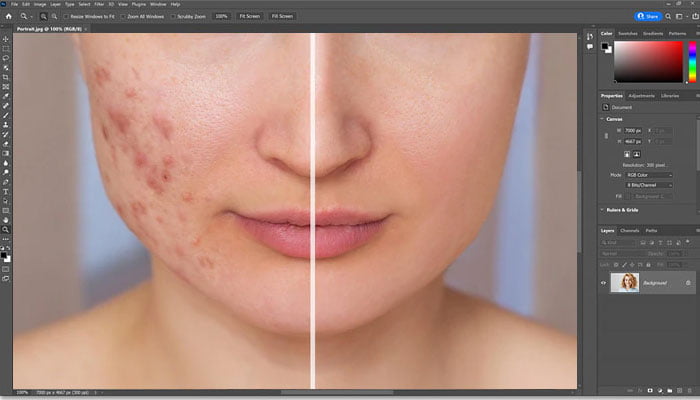
Make sure that while editing skin in photoshop, you should not wipe out the subject’s natural appearance.
- The best tool to use is the Spot Healing Brush Tool. You have to create a new layer and apply the Healing Brush Tool to all the temporary blemishes. These blemishes might include pimples, acne, cuts, wounds, etc.
Duplicate Layer to Cover the Bases
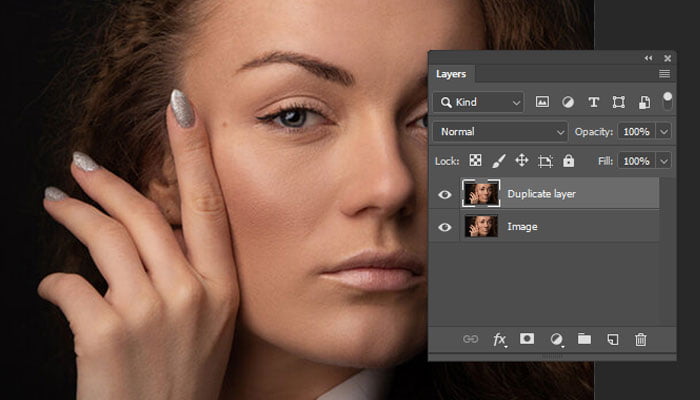
- You need to ensure to direct your efforts to smoothening skin textures.
- Skin smoothing in Photoshop can be successful only when you even out the base and properly eliminate the temporary blemishes.
- Create a duplicate layer entirely dedicated to fixing the skin texture appearance. You will have to name this new layer that corresponds to the next process of smoothening.
- You will still have your original layer even if you continue to build on the previous work.
Remember, you are working on different layers, so name every layer accurately. This makes the navigation process easier. This will also help you return to your previous work without starting from scratch. Photoshop’s smooth skin can help enhance the look of your image.
The Best Beauty Filter
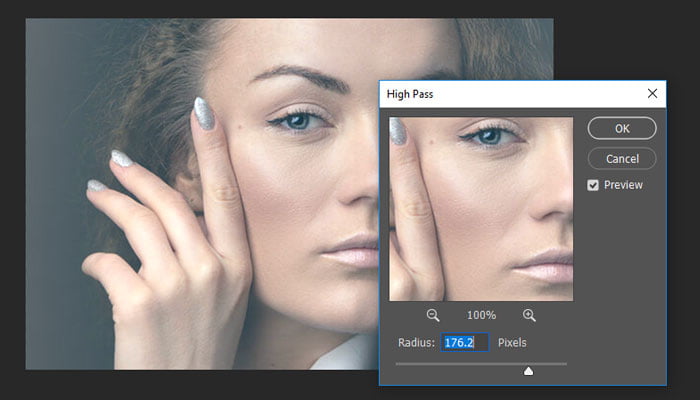
- Images can become blurry that might look good in small sizes. Such images will not be suitable for social media platforms.
- It is recommended to create a separate layer and use the two suitable tools, namely High Pass Filter Tool and Gaussian Blur Filters. You will have to click on the filter menu and then on the submenu to opt for the High Pass Filter option. This filter gives you a much sharper-looking image and allows you to seek out the edges of your image and highlight them. Highlighting edges, including hair tips and mouth area, give a deeper impact on your image.
- Apply Gaussian Blur to take this skin retouching to a professional level. This tool creates blurring effects but makes the skin look tighter and smoother.
Eliminate Formless Halos
- There will be formless halos all over your image, and that’s where professionals play a vital role. They can create a cleaner, concise image for you by working on Blend if sliders. Experts usually drag along the sliders according to the image needs and brightness.
- For a more cohesive final output, you can eventually blur the lines between the contents of each layer. This helps in reducing the light and dark halos in the project.
Create a Layer Mask
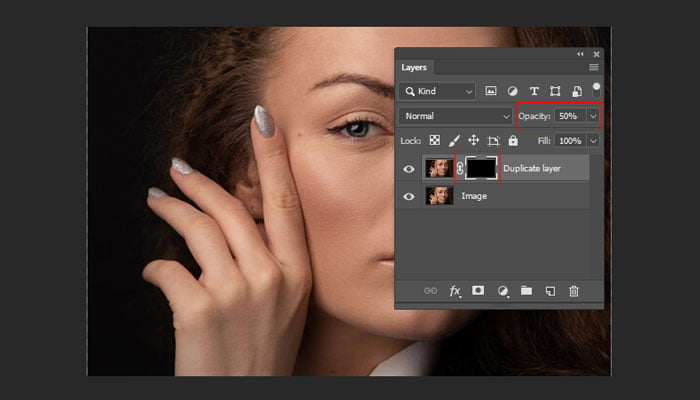
- The next step is to create a layer mask and fill it with black. Click on the Brush Tool and select the white color and then adjust your brush of choice.
- Create a natural, skin-like finish with the brush tool. This will showcase all the efforts the image has undergone. To finalize the editing process, reduce the layer mask opacity to 50 percent for a super soft finish.
Conclusion
Hope the above details help you understand the process of skin retouching in Photoshop. This is a bit of a complicated process. If you are also of the same opinion, we suggest outsourcing your editing requirements. Search for the best image editing company that can meet up your expectations. Try out WinBizSolutionsIndia and get access to the best photo retouching services. Our expert editors can help you remove moles, acne, birthmarks, and all other blemishes within a quick turnaround time. They can bring out the best features in every photo you shoot using advanced tools. Contact us today!