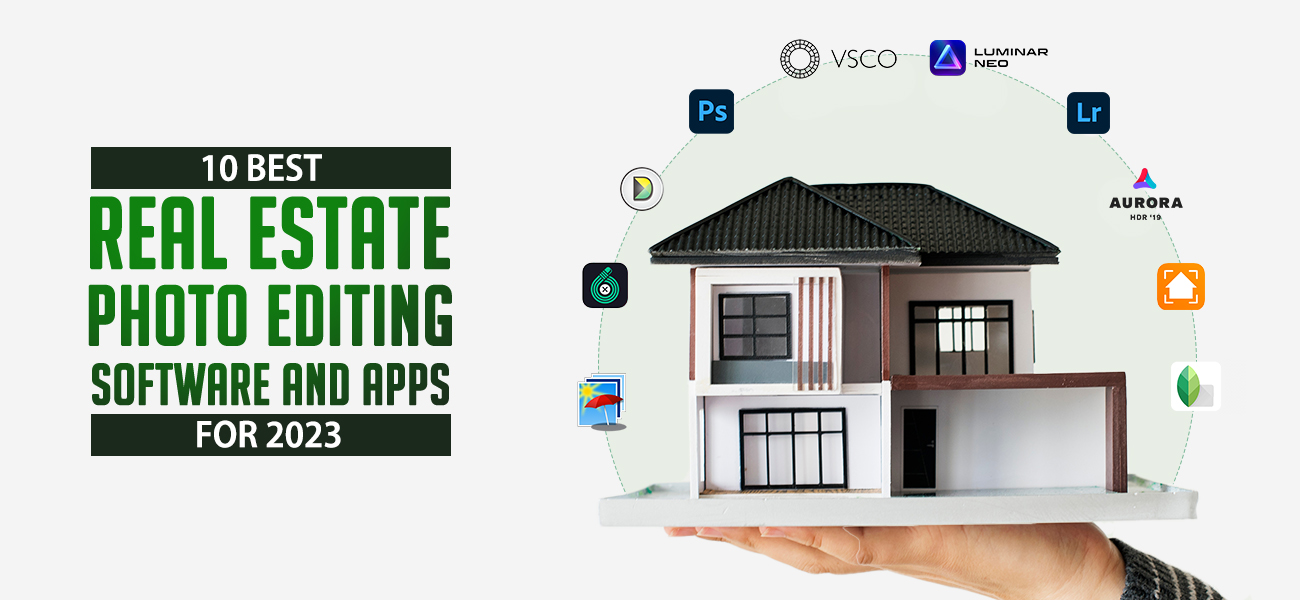
Real estate photography is complete only with high-resolution stunning visuals and aerial shots, which are inevitable. Drones change the face of real estate photography. While that being said, the need for skilled and expert photo editors is also on-demand, as they would be suitable for drone images.

Now, here is the twist: a real estate photo taken with a drone may seem quite good from a distance, but when taken closely, you might feel that it lacks something that needs to be added to the images. As a real estate drone photo editor, one must know the basic tips and tricks that contribute to the perfection of the image.
Let’s discuss 5 picture editing tips that are necessary to manage your drone shots of real estate properties.
5 Key Tips for editing Aerial shots for Real Estate
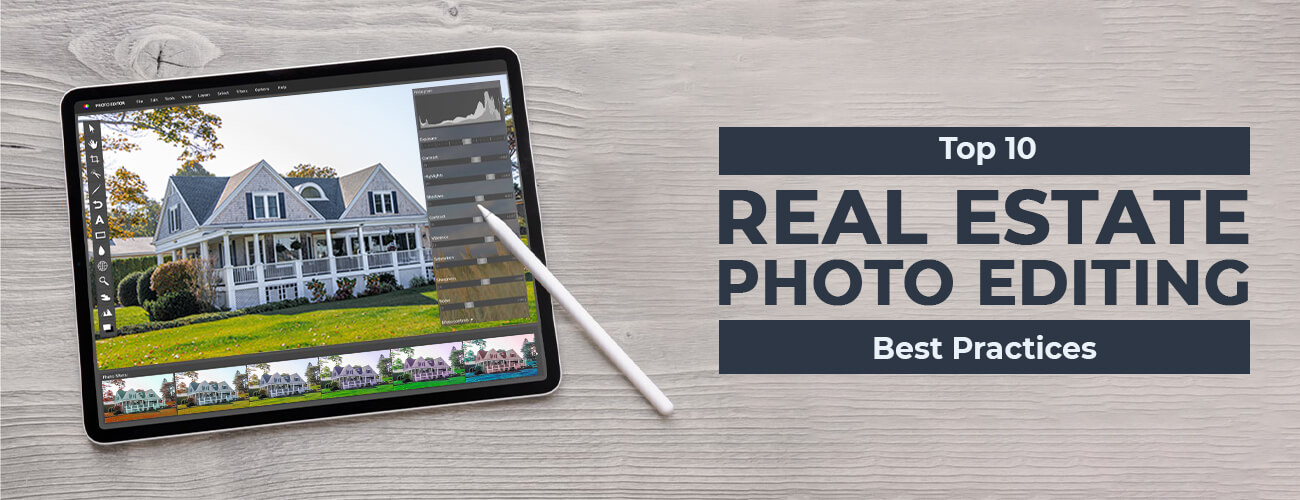
Drone image editing services are provided by many companies out there. But how can you know to edit the images with no compromise to quality? Here are some key tips to keep in mind while editing the aerial shots.
- Tip 1: Give attention to the proper cropping of images
- Tip 2: Utilize the healing brush
- Tip 3: Color Balancing
- Tip 4: Add the Location Markers
- Tip 5: Time for Final Touches
Let’s see one by one in detail.
Tip 1: Give attention to the proper cropping of images
However good the image is, it is necessary to crop the image to bring complete focus. While cropping the drone images, you must follow the rule of thirds – wherein the photo will be divided into nine equal square parts. The main object of the photo should at least occupy one-third of it to remain in the main focus. The rule of thirds is a must for real estate drone image editing for quality images.
Tip 2: Utilize the healing brush
It is obvious that while taking drone photography for real estate, your images will be prone to have more unwanted objects in them. It can be easily removed using a healing brush tool, which is available in all the photo editing tools. The unwanted distractions would change the focus of the image and hence needs to be removed during the retouching stage.
Tip3: Color Balancing
This is key in Real Estate Drone image editing wherein you need to adjust the saturation and sharpening of the images as well as balance the brightness and contrast to give a completely classy look to your images. These minute elements play a major role in giving more vibrance to the images. Aerial shots may seem a little tricky as they are taken from a high altitude which might impact the lighting and colors of the image. Hence toggling between hue and saturation effects is a must for color balancing.
Tip 4: Add the Location markers
Drone shots in real estate photography would give you a clear picture of the property and its beautiful surroundings. So, if you add location markers to identify where the house or the property is located it would give good consideration to your potential customers.
Tip 5: Time for the final touches
Before concluding the edited image, give it the final touch by reconfirming once again from all the aspects on how the image should look like and how it would be consumed by the potential prospects. After giving a final touch, sign off and take the feedback from the client.
Wrapping it up
Real estate photo editing is a key service that transforms your raw images into presentable ones by adding necessary elements and removing unnecessary distractions, thereby making the drone image a perfect one. Keeping in mind the key points covered in this blog will get you a long way in dealing with image editing for drone shots, particularly in the real estate sector. Above all, business owners must seek out the best real estate photo editing company to get the most out of the services so that convincing potential clients is made much easier with eye-catching images. Our professionals at WinBizSolutionsIndia can help you find the best real estate photo editing services.