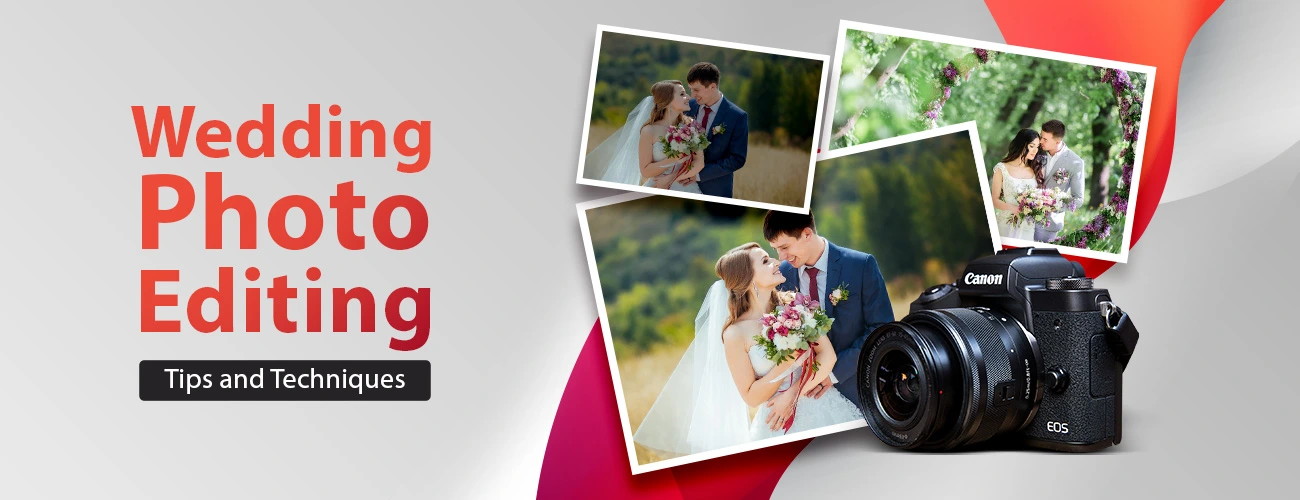
wedding photo post processing techniques
Wedding photographers often have to edit the photos before sending them to their customers. It is an important part of marriage photo editing since it helps in eliminating all the possible errors and helps to attain an outstanding quality of pictures. Editing, in fact, is one of those responsibilities that is unavoidable.
Besides, if you are a wedding photographer, it is highly needed that you should be well-versed with wedding photo editing tips and techniques. But, this activity sure needs patience as it is time-taking and laborious. That’s why you need to be aware of the best wedding photography editing techniques so that you can do your work perfectly.
In this article, you will come across certain tips that will make the wedding photos more appealing. Apart from taking the photos, a wedding photographer also has to meet the varied needs of their vendors or clients. Therefore, with this post, you will also learn how to edit the wedding photos in a way that will turn the time-consuming and painstaking task into a more enjoyable one. If not, there is always the other way where wedding photographers can outsource their wedding photo post-processing service needs to the dedicated experts. However, we will come later to that topic.
Let us first have a look at the wedding photo editing tips and techniques that will enable you to produce stunning wedding images.
-
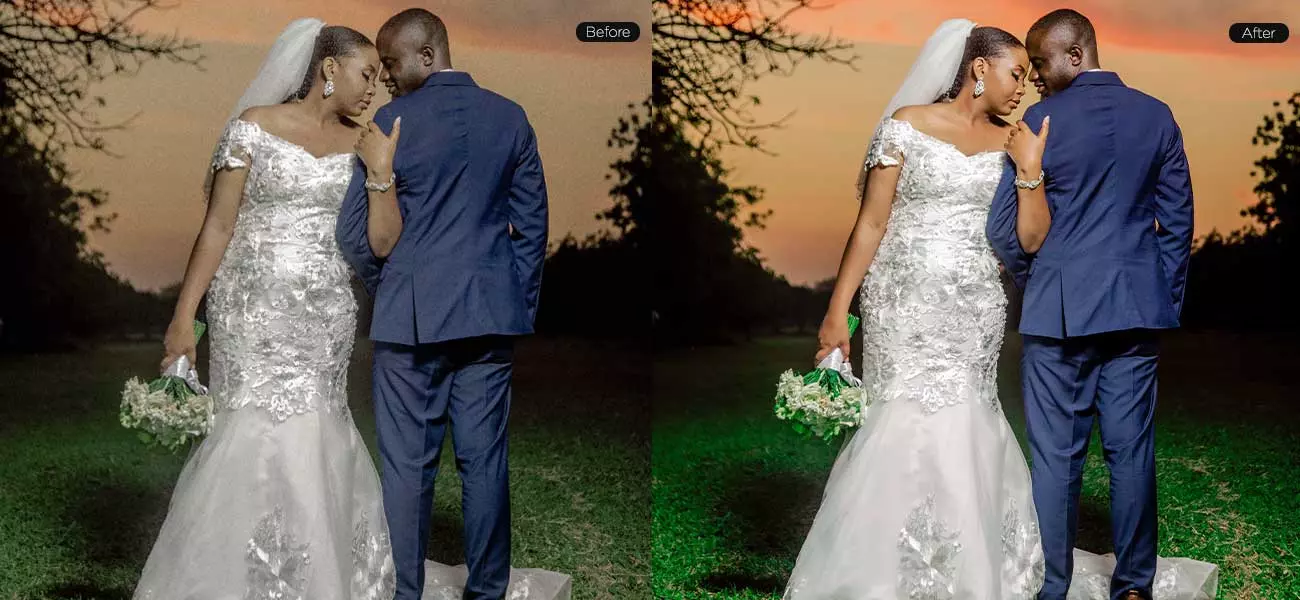
Eliminate the haze
In Lightroom, you will come across the dehaze tool, which enables the users to even out the quality of light in hazy photos. This tool is easy to use and simplifies the process. You can dehaze the images in quick time, when you use the tool. You need to use a button on a slider bar to dehaze the images. With this tool, it will take little time to dehaze the photos. This is one of the most important Lightroom wedding photo editing tips, as it enables the users to integrate the changes in quick time. Eliminating the haze from a wedding image enhances it in the following ways:
- The image gets clear subjects with sharp lines
- The colours get saturated
- The structure of the photos gets a boost
Well, you can experiment with the slider bar to view the results and adjust the effect as needed.
-
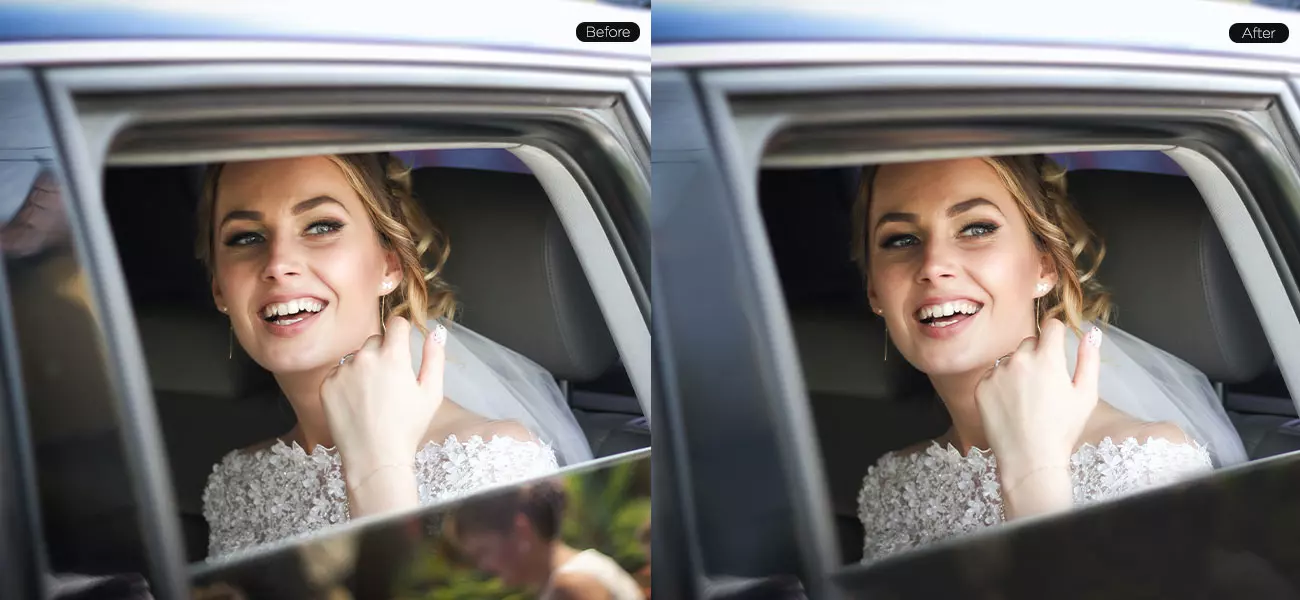
Cutting down noise
Often, you need to remove digital noise from the images. It refers to the discoloration of pictures, and it is necessary to integrate the right wedding edit for photos to enhance their quality. You can detect whether the image has digital noise or not by zooming in. In case the image has noise, it will turn out to be pixelated. This type of disturbance occurs in the pictures when they are shot in poor lighting conditions.
Digital noise can be of two types, luminance noise and colour noise. If the colour in the image gets distorted, it is known as colour noise. In case the image has grains on it, it is called luminance noise. While editing these images, you should fix the colour noise, before adjusting the luminance noise.
-
Edit wedding photos in batches
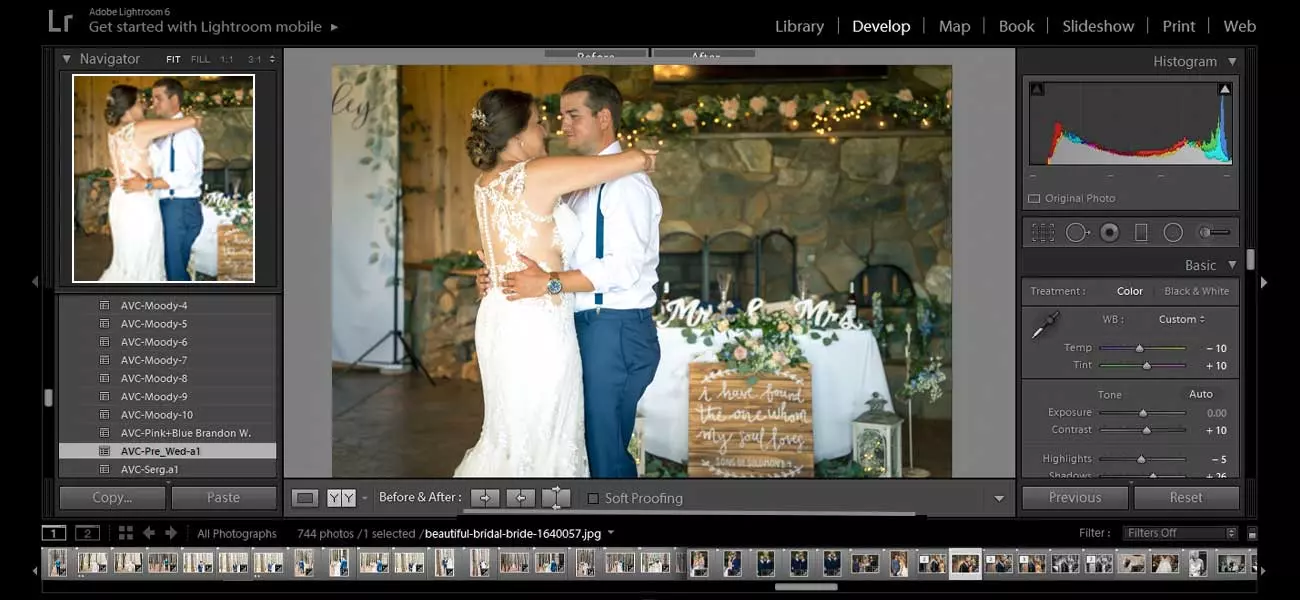
Wedding photographers need to edit hundreds of images. This is a time-consuming task, and they you need to edit the images in batches in order to manage the time. They can go for batch wedding photo editing lightroom, which makes the process faster. In this case, they need to edit the images in batches, grouping the similar images together. The edits that they make in the first image are integrated in the others in an automated way. The photographers need to be well-versed with the wedding photography editing software like photoshop and Lightroom, so that they can use the necessary features. Batch editing in Lightroom benefits the photographers in the following ways:
- Within each group, every photo has a complementary look of its own.
- The post-processing system becomes consistent, when you use the feature.
- It saves a lot of time for the photographers.
-
Spot removal
The Spot Removal tool enables the photographers to remove certain elements or spots from the images. It helps in healing or cloning certain areas thus removing the unnecessary spots from the photos. You can use the Spot Removal tool and choose ‘Clone’ to edit the images. In case you want to match the lighting, texture and shading of a particular area to a selected portion in the image, you need to choose ‘Heal’ in the Spot Removal Tool. This tool comes beneficial in the wedding photo editing process of different photo editing styles in the following cases:
- Removing unwanted objects or subjects from the images.
- Eliminating stray hair
- Adjusting imperfections or blemishes in the skin.
- Removing spots, lint or crumbs on the clothing.
- Eliminating distractions in the background.
- Removing specks of dust on the sensor of the camera
-
Blurring certain parts of the images
In Photoshop and Lightroom, you will come across the blur feature, which can add certain effects to the images. You can use this feature for creating a focal point, to remove unnecessary elements or to enhance the ambience. Here are certain wedding photography editing tips and tricks using the blur feature:
- You should blue each of the images individually for the best results.
- When you blur the images, it is recommended to work in the Develop module.
- You may try out various degrees of sharpness, when you use this feature to get different effects.
- In order to reset the settings, you need to click on the adjustment brush. The users can toggle between the custom and basic settings when they use the blur feature.
-
Whitening the teeth
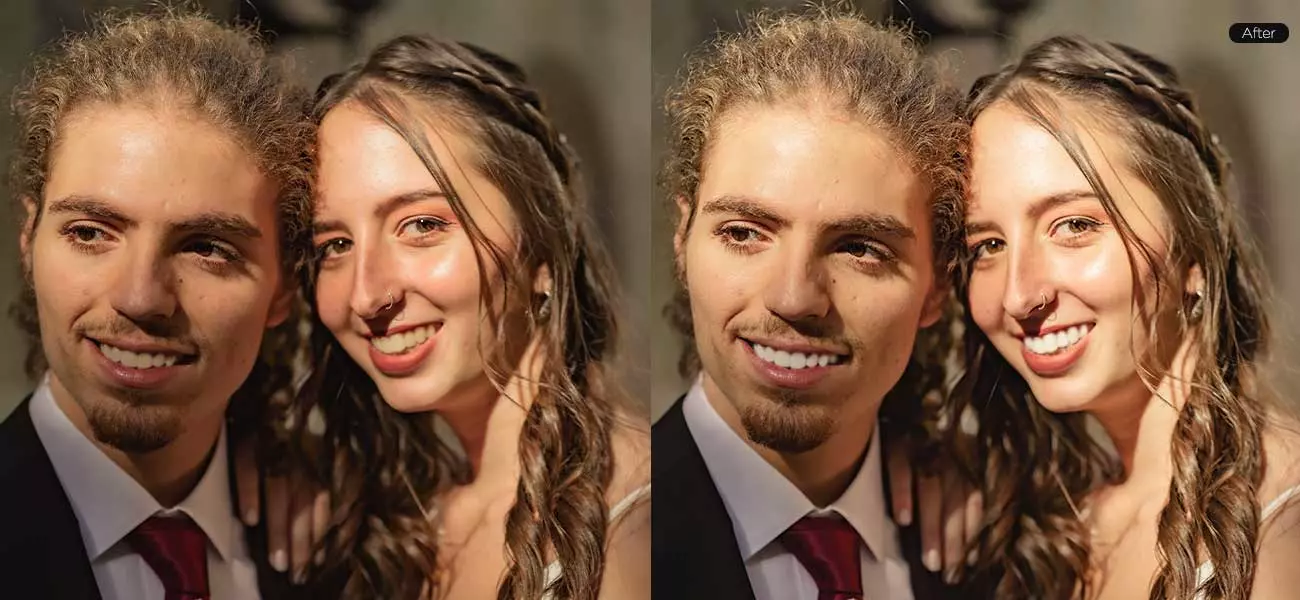
One of the most significant aspects that get easily noted is the teeth. Teeth’s whitening is one of should done in the best ways to enhance the wedding images. The process depends on the amount of light available during the shoot, shadows and other elements. At times, the teeth get darkened due to shadows thus tampering the grace of smiles. Even when the people have bright teeth, they may appear to be dark in the images. This happens due to the natural colour of the teeth, certain camera effects, effects of natural settings and other reasons. Mentioned below are certain wedding photo editing tips,using Photoshop or Lightroom to keep in mind when you proceed with whitening the teeth.
- The photo editor needs to choose the right size of brush. It should fit the tooth size. In case the brush is small, it may take a long time to complete the edit.
- You should decide whether to use auto mask, an additional feature in Lightroom. It assists the editor to apply the whitening effect on the teeth as a whole.
Whitening the teeth will enhance the image to a great extent.
-
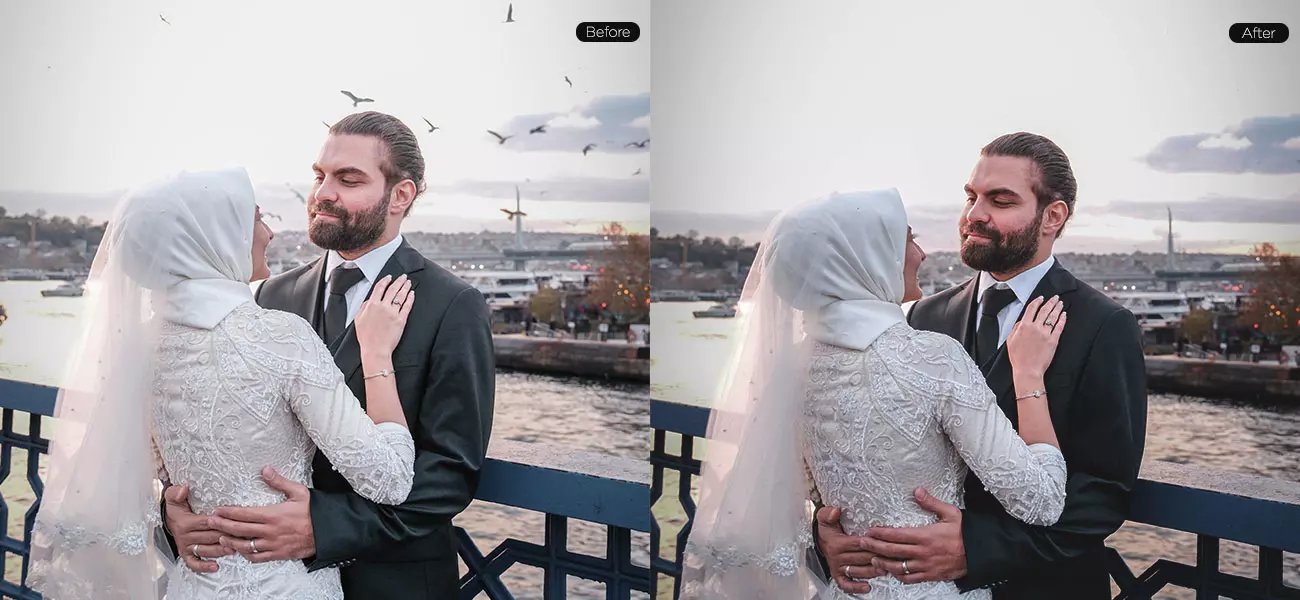
Adding bokeh
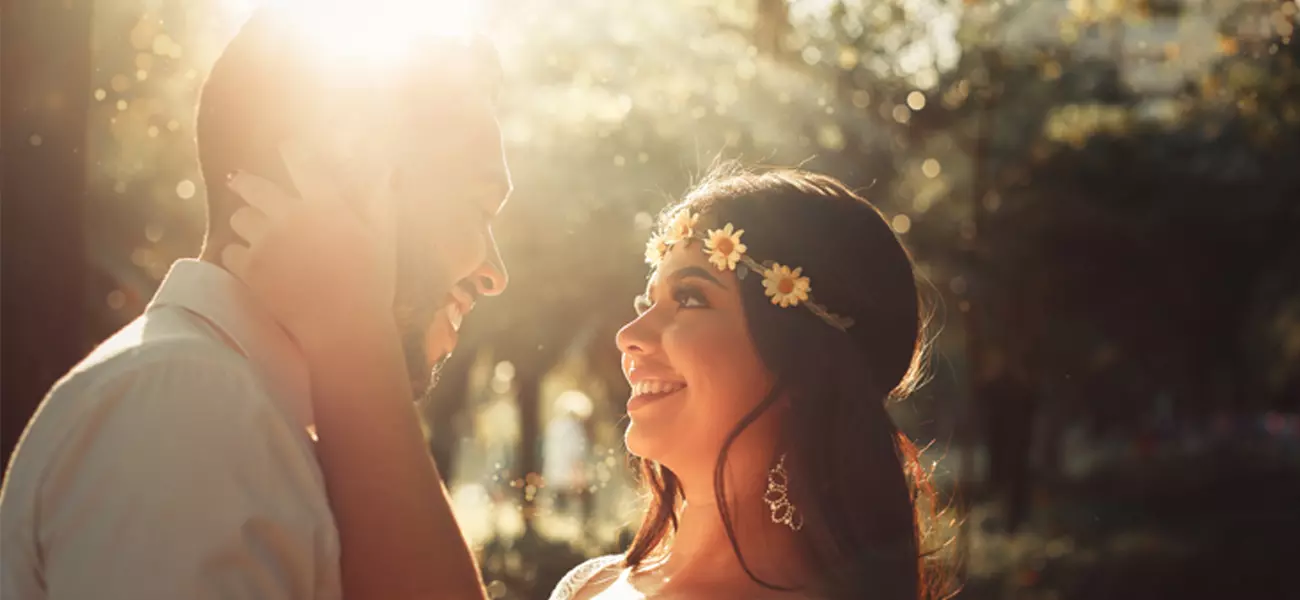
You can apply bokeh in the wedding images for various reasons. The most common reason for using bokeh is that it creates a romantic atmosphere in the image. Besides, it can bring the subject to the foreground, by blurring certain objects in the wedding photo editing background. This enables the viewers to focus on a particular aspect of the image. When it is applied in the right manner, the subjects become more prominent than other objects. However, it may create an unpleasant sensation on the eye, if it is applied in an incorrect manner. You should seek a wedding photo editing service from a reputed company to enhance the quality of images.
-
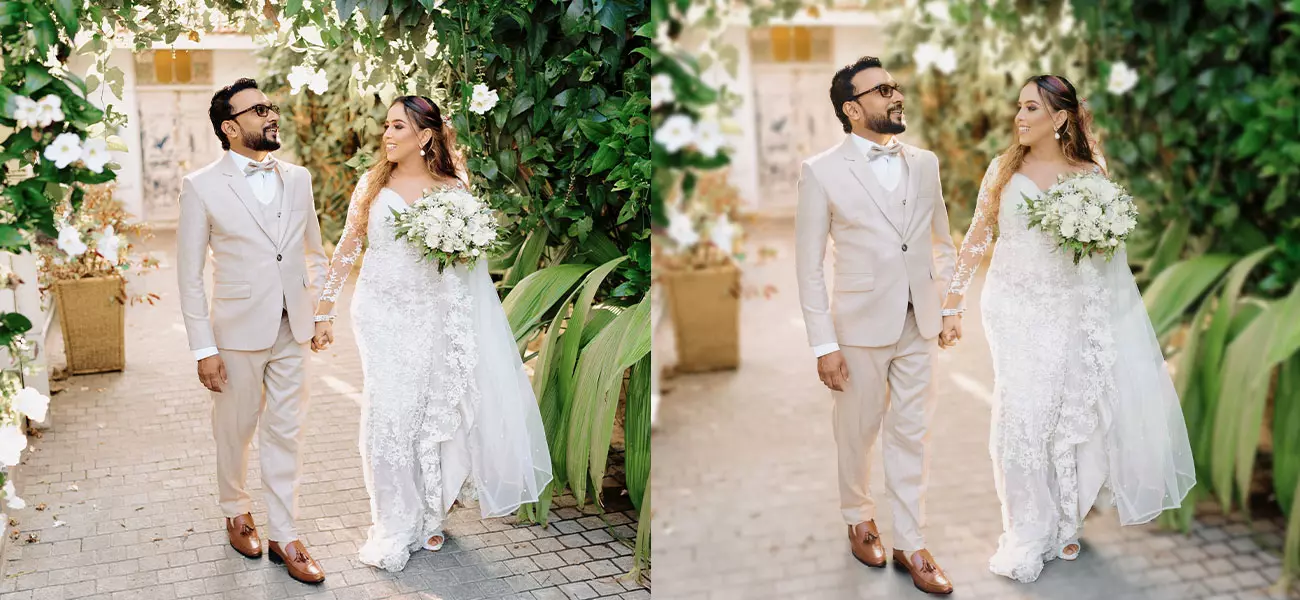
Trying out different foreground and background
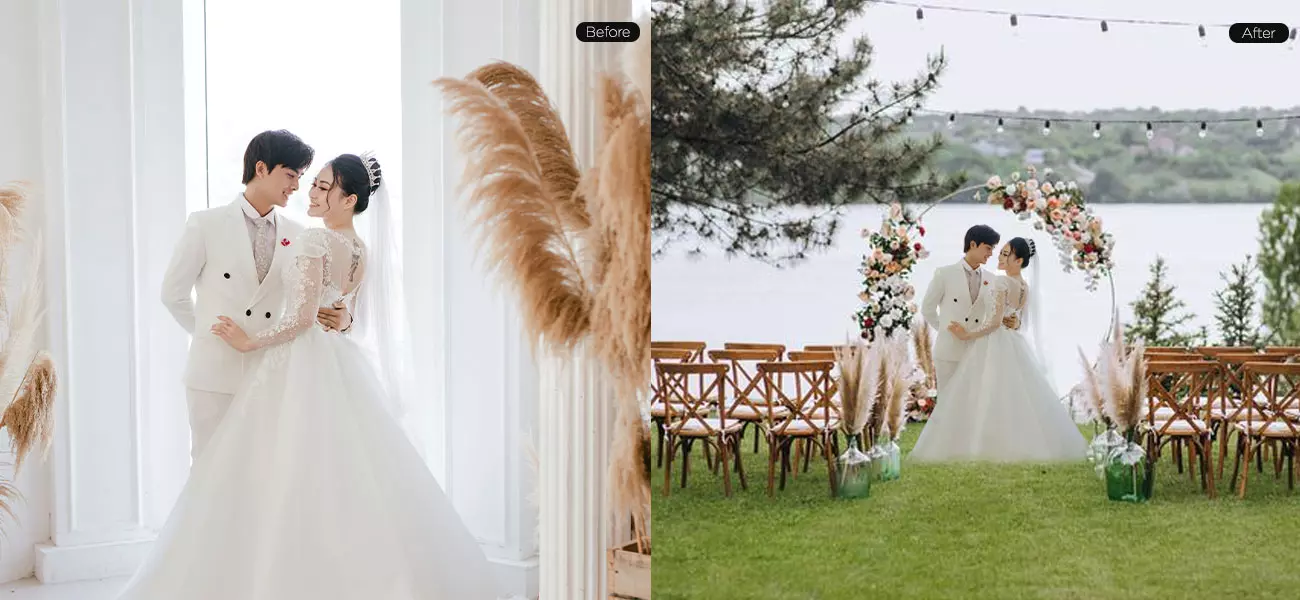
One of the best ways to enhance the looks of the images is to try out different foregrounds and backgrounds for wedding editing of images. You can use blur paint for these effects. When you edit these images, you need to experiment a lot. However, it takes a lot of time to try out different effects on wedding images. Most of the wedding photographers reach out to the expert photo editing company to save their time. Besides, the expert editors in the reputed companies are well-versed with important features, like retouching, enhancement, manipulation, etc. in the photo editing software. They can use the right effects in the right places to enhance the quality of the images.
-
Eliminating glasses glare
The glare from glasses often turns out to be an unwanted aspect in the photo. You should know how to edit marriage photos and remove the glare from the glasses. Photoshop comes with effective features to remove the glare from the glasses. However, photographers using Lightroom for the purpose should know the process.
Secondly, you can use clone tool to remove the glare from the glasses. This is available in the Spot Removal tool option. You can replicate a certain area of the image into the other area that needs to be edited. However, you should be careful while proceeding with the edit. Check your progress at every stage, while you proceed. From time to time, you should zoom out and ensure whether you are on the right track. It is necessary to work closely with the image, replacing certain parts of it with the area that seems to be all right. This is a delicate task, and needs patience. You can seek expert assistance from the established companies to save your time.
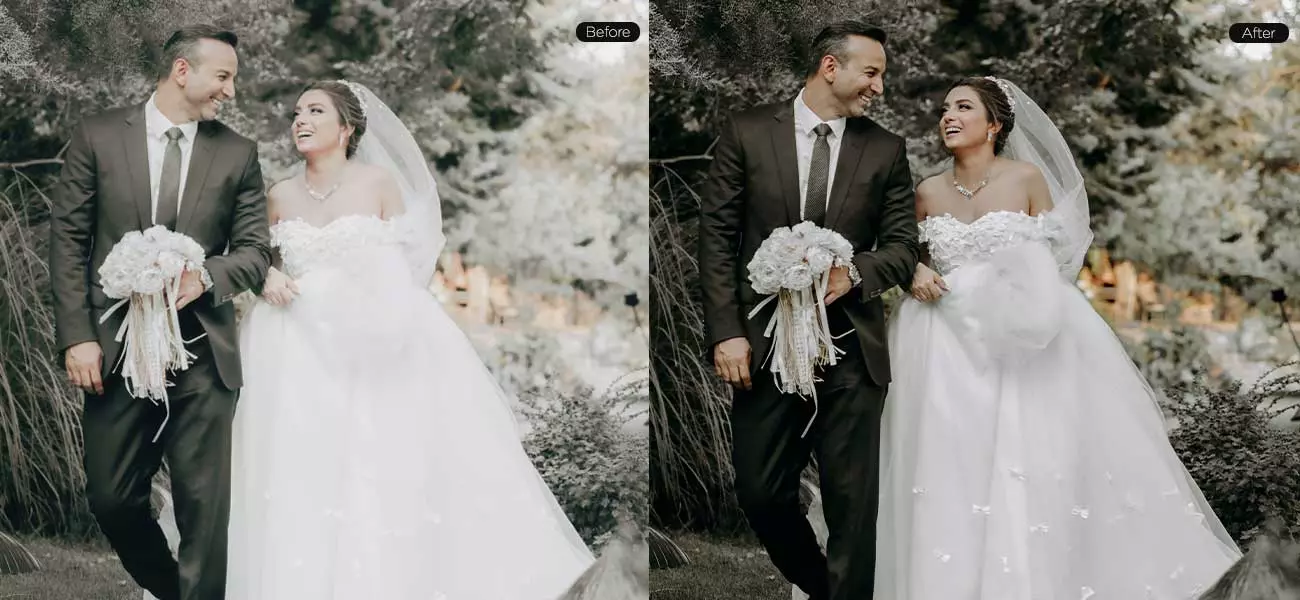
Make the best use of the wedding photo editing tips mentioned in this article to enhance your wedding photo edits in terms of quality and appeal. These photo editing tips and tricks can prove helpful to anyone who wishes to learn the art of creating exceptional quality images.
These are especially helpful to those who are already in the profession, for instance, the image editors or wedding photographers. Otherwise, you can always look for expert assistance for wedding portrait photo editing. We, at WinBizSolutionsIndia, are one of the reliable companies when it comes to offering high-quality image editing services to our clients. Besides, you also get the services at the most reasonable costs, which can be a smart investment choice.
So, save your valuable time by outsourcing your needs to us or using our photo edit tips. Our image editing experts are experienced and have been collaborating with wedding photographers and various photo editing studios over the years to offer them the best-in-class results. Contact us for seamless support for wedding photo post-processing services.
Process of Editing Wedding Photos
Start by Choosing Culling Workflow
Batch Process Photos Depending on Tone Setters
You can batch process your photos in the Lightroom as follows:
a. Reuse the copy-paste settings of a photo
- Go to the Develop Module in the Lightroom, and in the lower left-hand side, you can spot the copy and paste button
- Choose the photo from which you want the copy settings to be applied and select the copy button.
- Now, enter the settings in the Copy settings window. At last, pick the photo to which you like to paste these settings and press the paste button
It is a simple way to do your copy and paste process for your batch photos. Still, there are professional ways to do the work.
b. Sync settings between photos.
- Choose the photo from which you need the copy settings. Then hit the shift-click/command-click to select the rest of the images.
- Click the sync button in the Develop Module of the Lightroom. Now, choose the copy settings from the dialogue box that pops up. Finally, hit the Synchronize button
c. Multi-photo edits
To apply the slider adjustments to all photos at once, turn on the Auto-sync feature. The process goes like this:
- Click the on/off button that appears at the left-hand corner of the Sync button. It will enable the Auto-sync feature.
- Now, the slider settings will sync to all the selected images.
Use Presets for Exports
The photo editors use the following export presets to export files to social media or print. Make sure to install these steps after the completion of photo editing in Lightroom.
Remember to follow these settings when you Export to Facebook and Instagram.
- Open the Export Dialog box and enter your required settings. The most crucial settings here are file sizing, setting, and output sharpening
- File Settings
- JPEG for file type
- sRGB for color space
- Image quality 76%- 100%
- File Sizing
Facebook photo sizing- Cover Photos – 851 pixels * 315 pixels (the file size should not exceed 100KB)
- Regular photos – 720 pixels*960 pixels*2048 pixels
Instagram photo sizing – up to 1080 pixels wide
Output sharpening
- Go with the standard amount.
- Remember to follow these settings when you Export to Print.
- Enter your required settings in the Export Dialog box.
- Export Locations
- A folder named print is created on your computer.
- Pick a specific folder option from the list.
- Place your print folder location.
- File Naming
- It is optional. You can rename the files if you wish.
- File Settings
- JPG, TIF for file type
- Adobe RGB or sRGB for color space
- Image quality – 85%-100%
- Output Sharpening and Metadata Settings
- Click the skip button for these two processes.
- Save these preset settings. Then click the Export button.
By adhering to these tips, you can save much of your post-production time. It also ensures that you deliver better results to your clients.
Conclusion
If you are looking for an expert assistance for editing your wedding images, you can reach out to us. At WinBizSolutionsIndia, we provide high-quality image editing service to our clients. You can get the services at most reasonable costs and save your valuable time. Our image editing experts are experienced and have been collaborating with wedding photographers and various organizations over the years. Contact us for a seamless support for wedding photo post processing services.