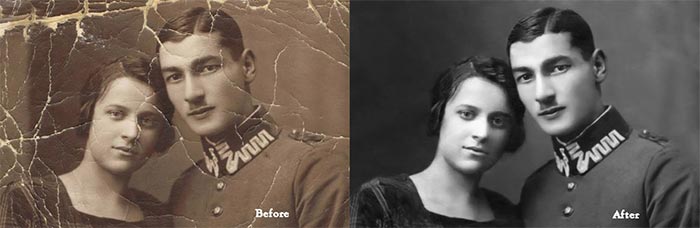
Photoshop old photo restoration
Photoshop is not just used to craft unconventional or quirky images. You can use it for a variety of purposes, and one of them is old photo restoration. Even though many tools can help you with restoring old photos in Photoshop, It is also a favorite of many professionals who indulge in the task of photo editing and retouching.
With Adobe Photoshop, you can refine old snaps as well as restore damaged ones. But, to carry out the process, you need to learn a few things. In this article, we’ll offer you the best tips for restoring damaged or old images in PS, along with other software that can help you with the same.
Photoshop old photo restoration tips Download the PDF
7 Photoshop Tips for Restoring Damaged Photos
The underlying guide pertaining to photo restoration tips and tricks can help you immensely as it is easier and least complicated.
-
The Digital Route
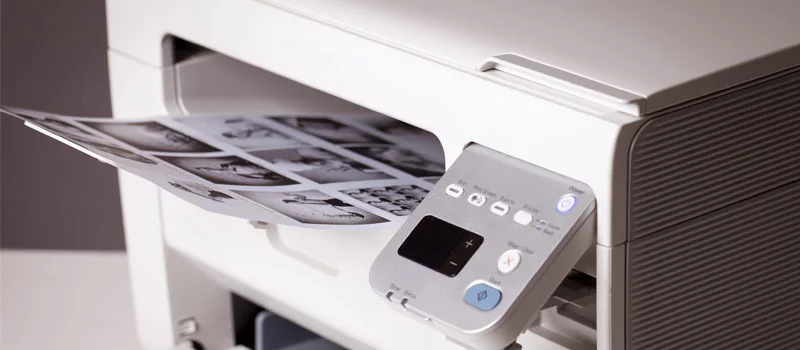
Start your mission by firstly scanning the photo. This way you can save a copy in a digital format.
There are multiple ways to achieve it:
- By using a normal photo scanner.
- By using a digital camera to take the photo of the damaged photograph.
- By using a scanner application, which will be available on your smartphone.
You can choose any of the said methods but ensure that they produce a copy with top-quality resolution. It will make things easier while editing.
-
Use Photoshop
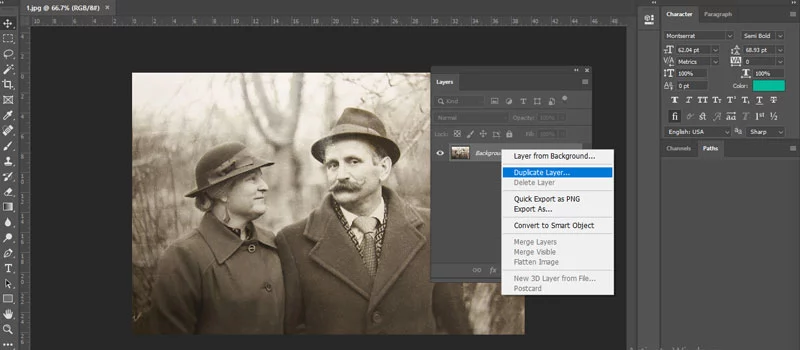
Next, you need to open the digital copy of the picture in Photoshop to create another copy. By doing so, you can use the original file as a reference while you edit the other copy.
Below are a few guidelines to duplicate a picture in Photoshop.
- Go to the taskbar and select ‘Layer’
- Choose ‘Duplicate Layer’
- To differentiate the new copy from the old one, rename the latest layer. To do this, double-click on the name of the layer and give the desired name.
-
To rotate, crop, straighten, and fix shadows and blend in the image
Ensure that you have a clean and clear image before you start the editing work. You can follow the below steps depending on the type of editing you need to perform.
How to rotate an image?
- Go to the taskbar and select the ‘Image’ option.
- Choose ‘Image Rotation’.
- Select the desired rotation.
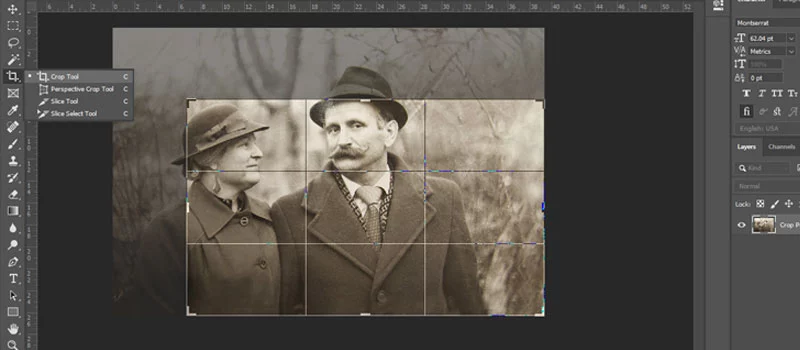
How to crop an image?
- Choose the ‘Crop’ option in the toolbox (that is located in the workspace on the left side) and click on it
- The crop box can be dragged as required.
- You can alternatively press the enter button on the keypad or choose the ‘Image’ icon situated in the taskbar and select the ‘Crop’ option.
In case the scanned image looks crooked, then the Crop tool will help to straighten the same. You can also check a few tips or ways to crop an image to get better.
How to straighten a crooked image?
- Click the ‘Crop’ option.
- Hover the cursor over any part of the image’s corner to find a curved double-ended arrow.
- Drag accordingly – either to right or left to rectify the crooked portion.
- Once you get the desired effect, press Enter or select the ‘Image’ option and Crop.
How to fix Shadows and Bends?
- Let’s say the requirement is a sepia-toned image. In that case, it is advisable to do the editing by first converting the image into the black and white format.
So, turn the image (edited so far) into black and white to highlight the contrast and shades. Then finally, change it back to the sepia tone. By applying an adjustment layer that is in black and white to a restoration layer, it can do wonders. A similar technique is applicable when it comes to old black and white photo restoration in Photoshop. Below are other tips to fix the shadows and blends.
- Save the original layers by duplicating new ones to keep the original copies safe.
- Next, all the duplicated layers should be merged.
- Choose the ‘Color Range Tool’ to select the bends, which reflect the surrounding light and where there is shine in the darker areas.
- After getting the selection, choose the Feather Radius of 5 pixels.
- Next, choose the ‘Burn Tool’ and go to the top bar to select the Range as ‘Midtones’ while setting the Exposure to 24%.
- Let the selected portions ‘Burn’ until they match the other shadow areas of the photo using a soft big brush.
- Use the ‘Burn Tool’ also in areas where the object has a bend and the reflecting light kills the shadow. You will be able to recreate the shadow in these areas by cloning a bit.
-
Reduce noise by applying a filter
With a mere click of the mouse, one cannot remove the scratches or dust on the image. For this, you need to use a manual approach. Don’t be afraid to carry out manual edits as many Filter options in Photoshop are available to help you remove unnecessary noise.
Here’s how to reduce noise in an image.
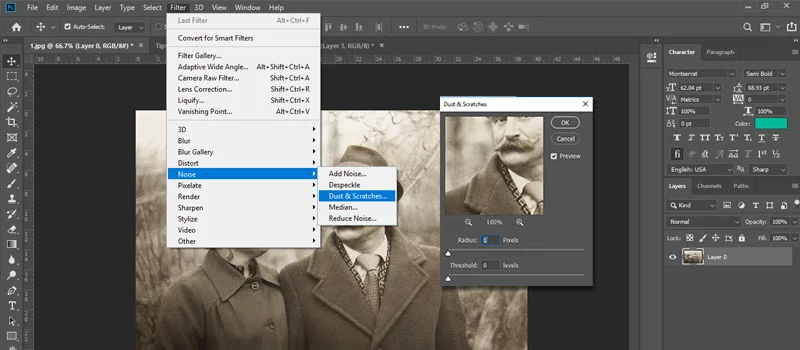
- Go to the taskbar and select ‘Filter’.
- Choose the ‘Noise’ option and click on Dust & Scratches.
- Open a pop-up window and gradually increase the levels of ‘Threshold’ and ‘Radius’ pixels to get the effect you require. Make sure you don’t use it too much or you will lose excessive detail.
- Again select ‘Filter’ to click on the ‘Noise’. Next, choose ‘Reduce Noise’.
- In the pop-up window, adjust the settings accordingly. Keep an eye on the Preview section to check the effect while doing adjustments each time.
-
Rectify the damaged areas
Now, this is where one needs to be extra alert! If your photo has any kind of marks such as stains or scratches, then opt for an amateur level of techniques in Photoshop like the Spot Healing Brush, Patch Tool, and Clone Stamp Tool.
How to use Spot Healing Brush:
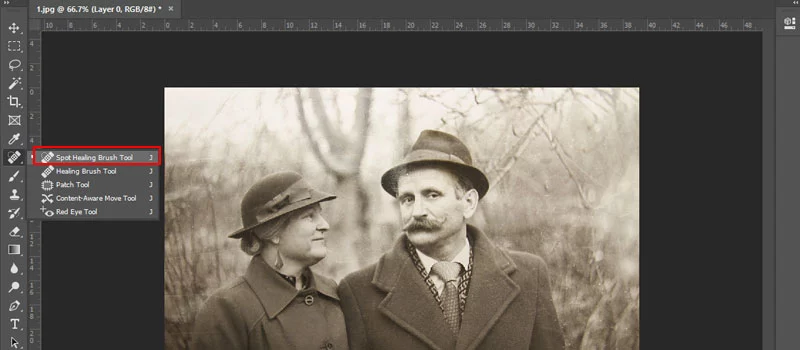
- In the toolbox, select the Band-Aid-like icon – that is the ‘Spot Healing Brush.
- Select a brush size according to your preferences. You can get this option in the drop-down menu situated in the upper right corner.
- Select Type – either ‘Proximity Match’ or ‘Content-Aware’ to achieve the results you want.
- Click on the area you want to rectify.
How to use Patch Tool:
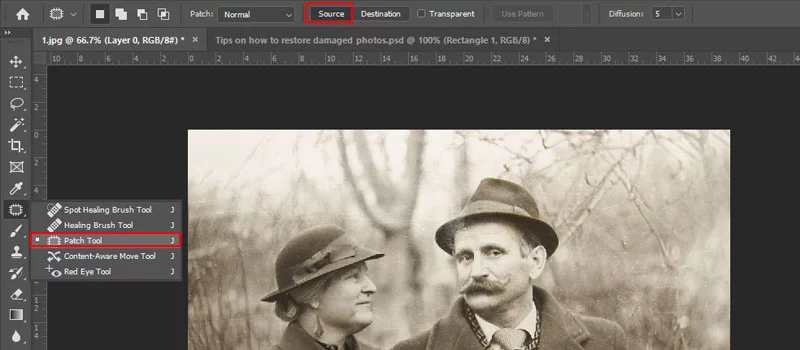
- Choose ‘Spot Healing Brush.
- Click on ‘Patch Tool’.
- Choose ‘Source’ that is located below the taskbar.
- Encircle the damaged portion using the cursor to form a selection.
- The selection can be dragged to any clean area that closely matches the color and looks of the damaged portion that you are trying to fix.
How to use Clone Stamp:
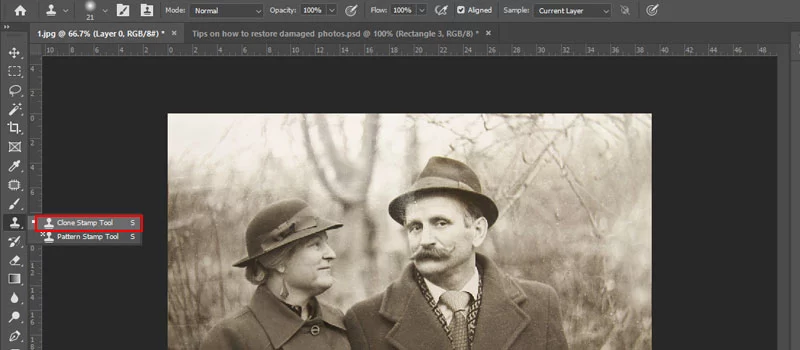
- In the toolbox, click the ‘Clone Stamp’ option.
- You can select the brush size according to the size you need.
- Next, Alt + Click a clean portion that needs to be cloned.
- Opacity can be adjusted if required.
- Drag or click the cursor over the damaged spot to cover with the cloned pixels from the area of the sample.
No matter which tool you are using from these, it is essential to zoom in as much as possible on the area that you want to repair. This will help you to get a highly satisfying result that is precise and well-defined.
-
Adjusting color correction
You can easily color the discoloured old images. To remove the stains or add colors, you need to choose an appropriate color feature for your old photo repair. Just pick the color feature and select the needed colour from the given pallet. However, chances are low that you will get the exact colour you need.
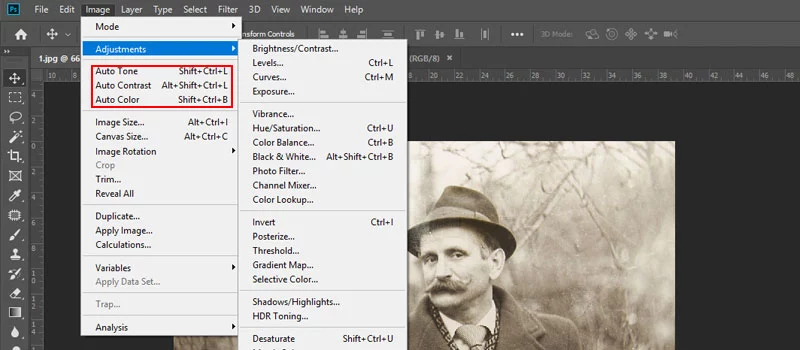
You will get a drop-down menu after selecting Image from the taskbar, where you will have different options for photo color correction.
If you select ‘Under Adjustments,” there will be three choices: auto color, auto tone, and auto contrast. Try adjusting the image with these options to check whether you get the effect you want. You can always opt for the manual route if you are not satisfied with the automated results.
There is always an advantage if one knows how to read the histogram, as it can help you achieve the perfect effect. In the histogram, choose “Adjustments” to see various functions. One can come across “brightness,” “exposure,” “vibrance,” and “contrast,” as well as other adjustment options like “levels” and “curves.” Working on an old photo always gives you the liberty to experiment with the adjustment tools to achieve the desired color, tone, or contrast.
-
Saving the edited image
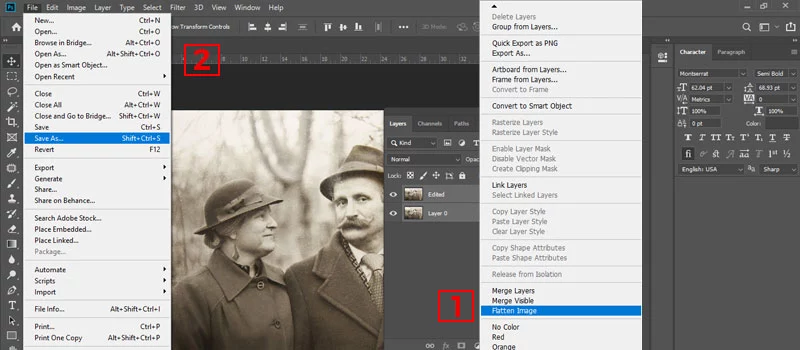
Once the image editing is done, you can either delete the original layer that was meant for reference or flatten the images (Right-click the layer that has been edited and choose ‘Flatten Image’. For this the edited layer must be on the top). Next, go to the taskbar and click on the ‘File’, choose ‘Save As, select the desired file format, and press ‘Enter’. Voila! You have your old photo restored!!
Now that we have covered the tips, let’s move to the different software you can use other than Photoshop to restore old images.
Damaged image restoration in Photoshop is a skill that you should master or achieve the desired results is impossible. The best thing you can otherwise do is hire any professional company offering photo restoration services. There are many options but be sure to select a reputed one that can help you cherish your old memories with perfectly restored images.


