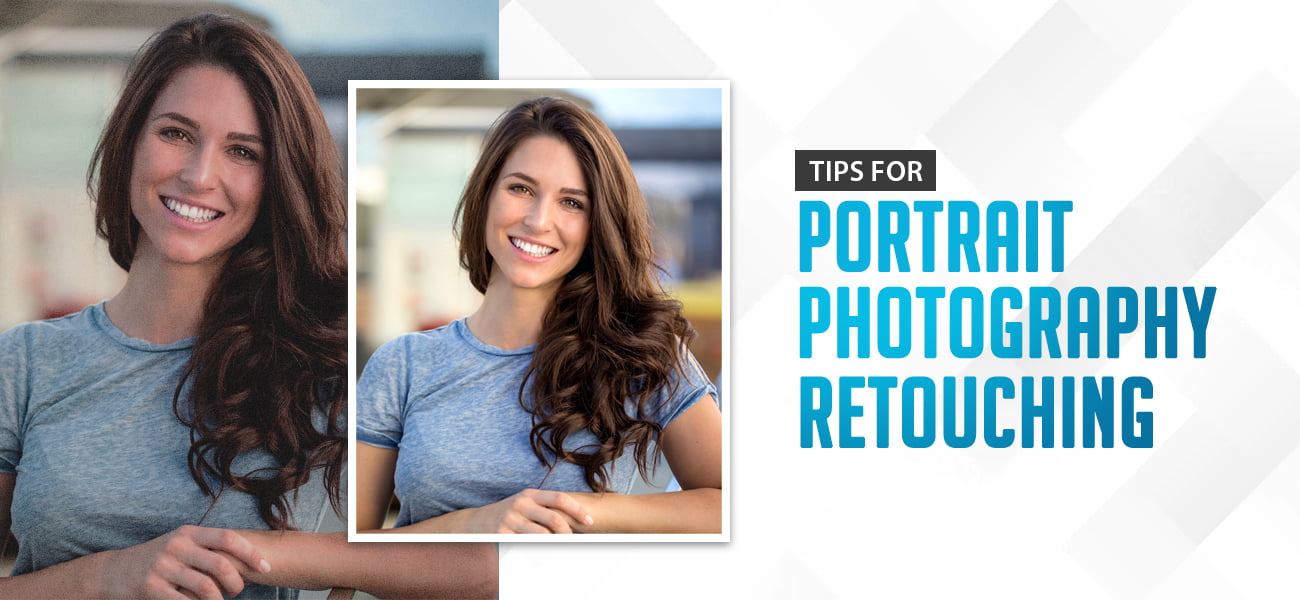
Tips for portrait photography retouching
Portrait photo retouching is an essential part of the photo editing domain. By using it, you can possibly add glamour and increase the beauty of the portrait pictures by eliminating any defects in it. Creating alluring portraits will help in fetching the attention of the desired prospects, which in turn will increase your sales turnover. Indeed, you can take the help of a quality digital camera to shoot excellent portrait pictures. However, taking some time to also carry out the pre-processing tasks for enhancing the overall image will help in boosting its quality and attractiveness that is best suited for any photography business.
You can find a lot of tutorials online that can help you to carry out the portrait retouching works. However, only a few can be suitable for your projects. Besides, finding the ones with the best techniques and information might also take a lot of time. Even if you find some, there is still a possibility that it might not be free of cost. Thus, to overcome each of the issues mentioned above, we have compiled a list of the 7 important tips in this article to guide you through the best methods for achieving high-quality portrait photo retouching. In addition to that, it can also be helpful to the amateurs for boosting their clicks.
Once it is done, we will move on to the next section of the article, where we discussed the different software tools that play a critical role in aiding you to achieve realistic portrait photography editing.
Evaluate the image
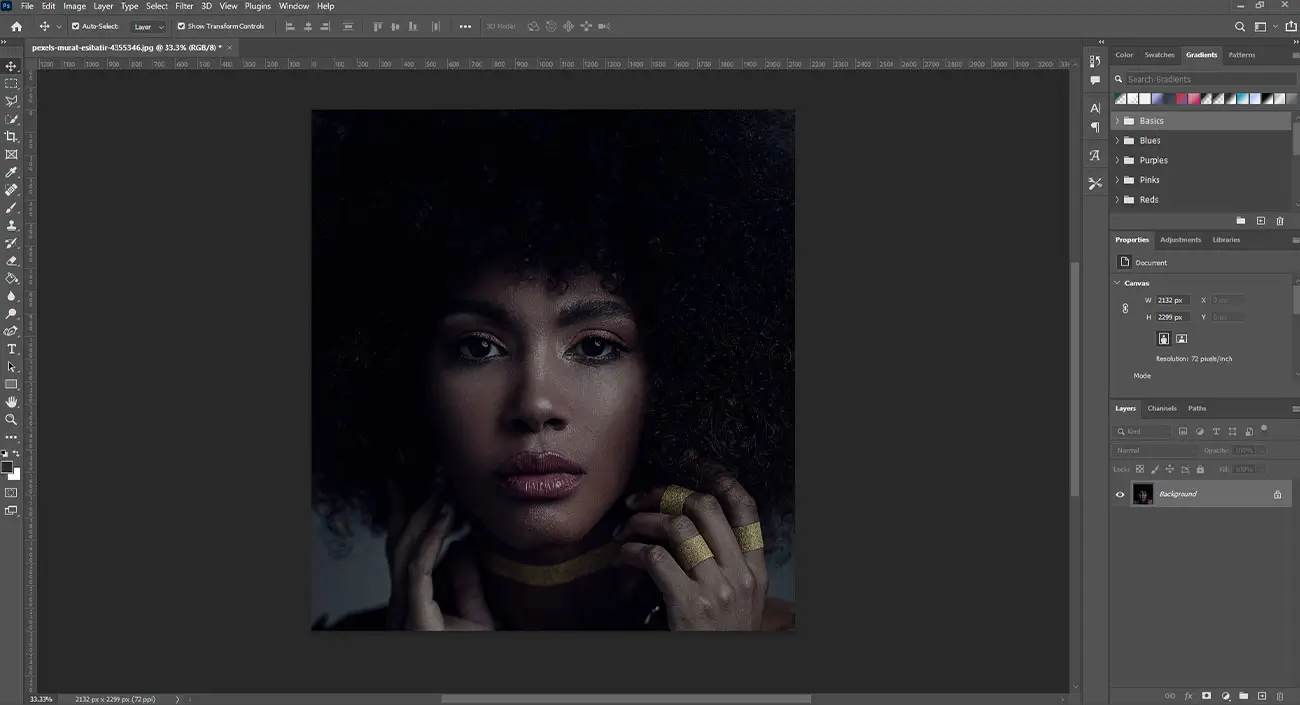
The first thing you need to do before beginning the retouching work is to take some time and analyze the photograph that needs to be retouched. Find out different areas in the image that needs sharpening or enhancement. By knowing this, you can figure out whether you should go for basic image retouching or advanced image retouching. Also, pay special attention to the light source and its impact on the picture.
Enhance the eyes
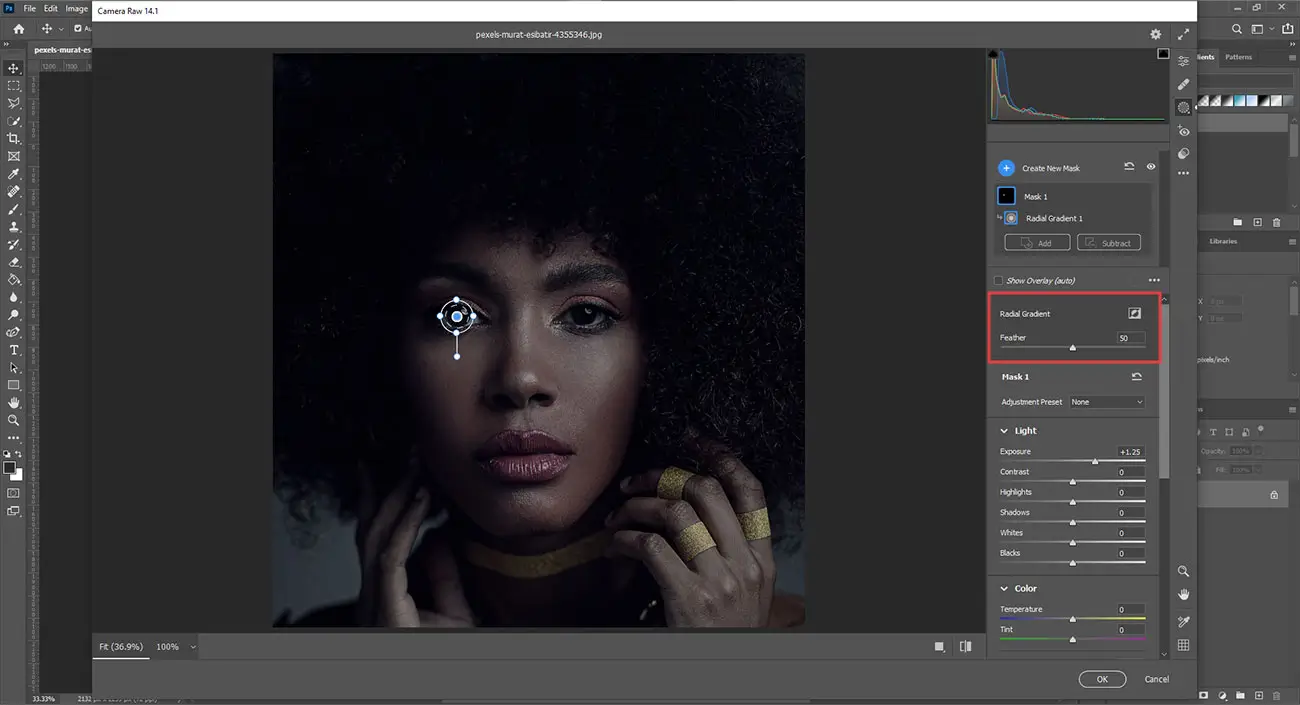
Since eyes are the most important part of a portrait image, focus on it first. A quick and easy way to enhance the eyes of the subject is to improve the color and contrast in the iris. For doing this, you can use a circular adjustment tool like the Radial Filter in any photo editing software. Use the tool to create an ellipse over the iris and erase anything unnecessary with the help of a Brush tool. Now, increase the Exposure, Clarity, or Saturation until it looks perfect. Also, make sure to darken the edges of the iris. It can be done by holding the Ctrl/ Cmd + Alt, dragging the pin to make a copy, and then lowering the Exposure. Now, click on the Brush, and erase the center of the circle to make sure only the edges of the iris are darkened. Once you have done your job, then hold Ctrl/ Cmd + Alt and drag the pins to the other iris for copying them
Eliminate the eye bags
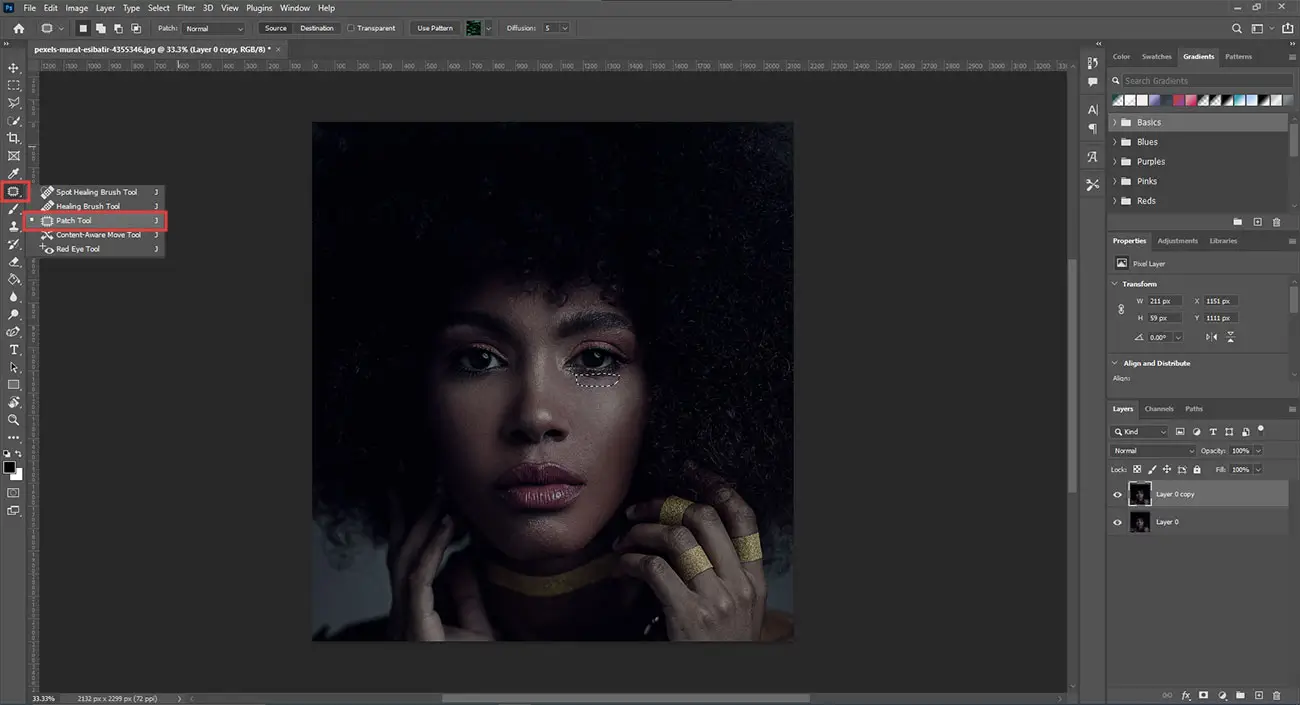
Eye bags will make the portrait dull. So, try to remove it for sure. For eliminating the eye bags, hold Ctrl/Cmd + J to duplicate the background layer in the editor and grab the Patch tool. Change the Patch tool to Normal and use it for retaining texture. Create a rough selection around the dark area and a bit of space around the edge. Now, drag the selection to a clear area of the skin, e.g., the forehead. Hold Ctrl/ Cmd +D, and go to the Layers panel for lowering the layer’s opacity until it looks natural. You can also use the Clone Stamp tool to clone at a low opacity for smoothening out the rough skin if needed. A good tip is to use a tablet for all your retouching works. The pen will be easier to handle and more precise and faster than a mouse.
Soften the skin
Another tip of portrait retouching is to soften the skin so that it looks as realistic as possible. Since retouching is mostly about making selective adjustments, using Layer masks can help you achieve it. However, you need to be careful in this step, because if you overdo it, then the subject’s skin might look like plastic. So, first, start with retouching the marks or blemishes on the face with the help of a Clone Stamp tool or Spot Healing Brush. Copy the layer by holding Ctrl/Cmd + J or merge a new layer by holding Ctrl/Cmd + Shift + Alt + E. Now, invert the layer with Ctrl/Cmd + I, and then go to the Layers panel. Set the opacity of the layer to 50% and the Blend Mode to Linear Light.
Next, right-click on the layer icon and choose Convert to Smart Object. Then, select Filter > Other > High Pass. You can set a particular amount to blur the skin. Go back to the texture after that, and then click on Filter > Blur Gaussian Blur and set the third value used for the High Pass Filter. Now, Alt-click the Add Layer Mask icon for hiding the effect and take the white brush to paint all over the skin of the subject to reveal it.
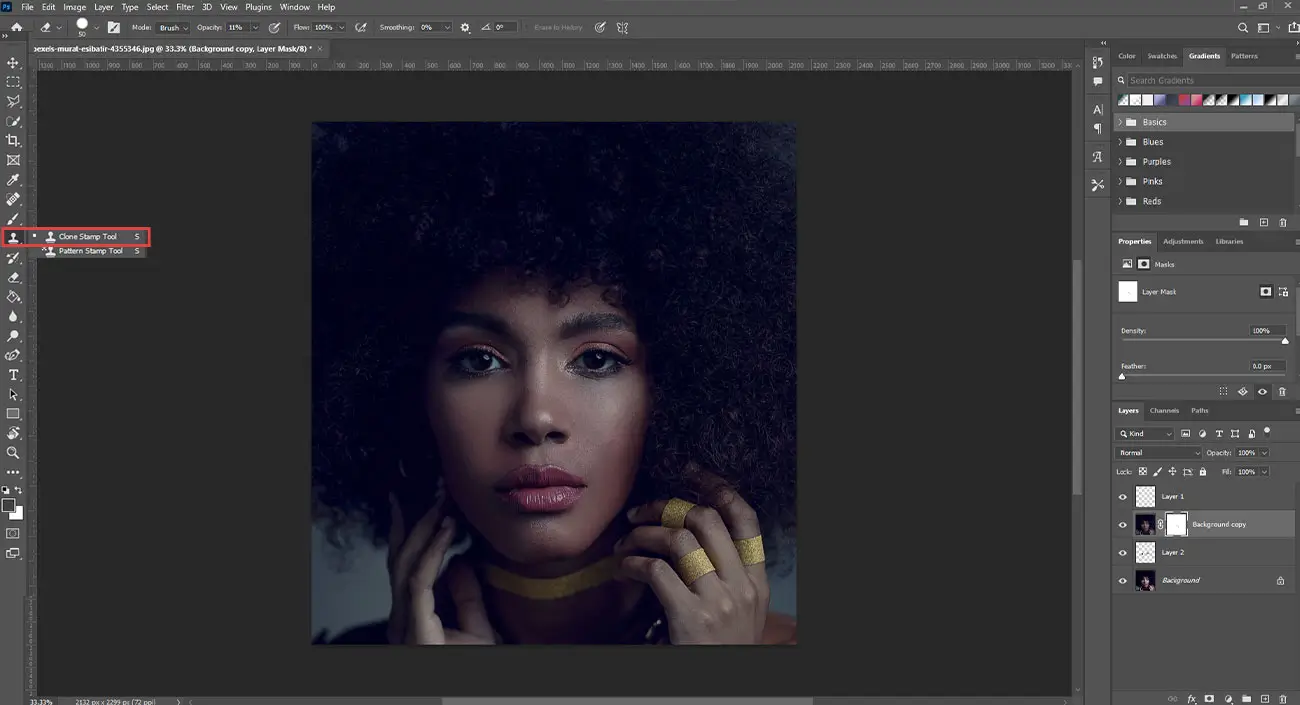
Eliminate the hotspot areas
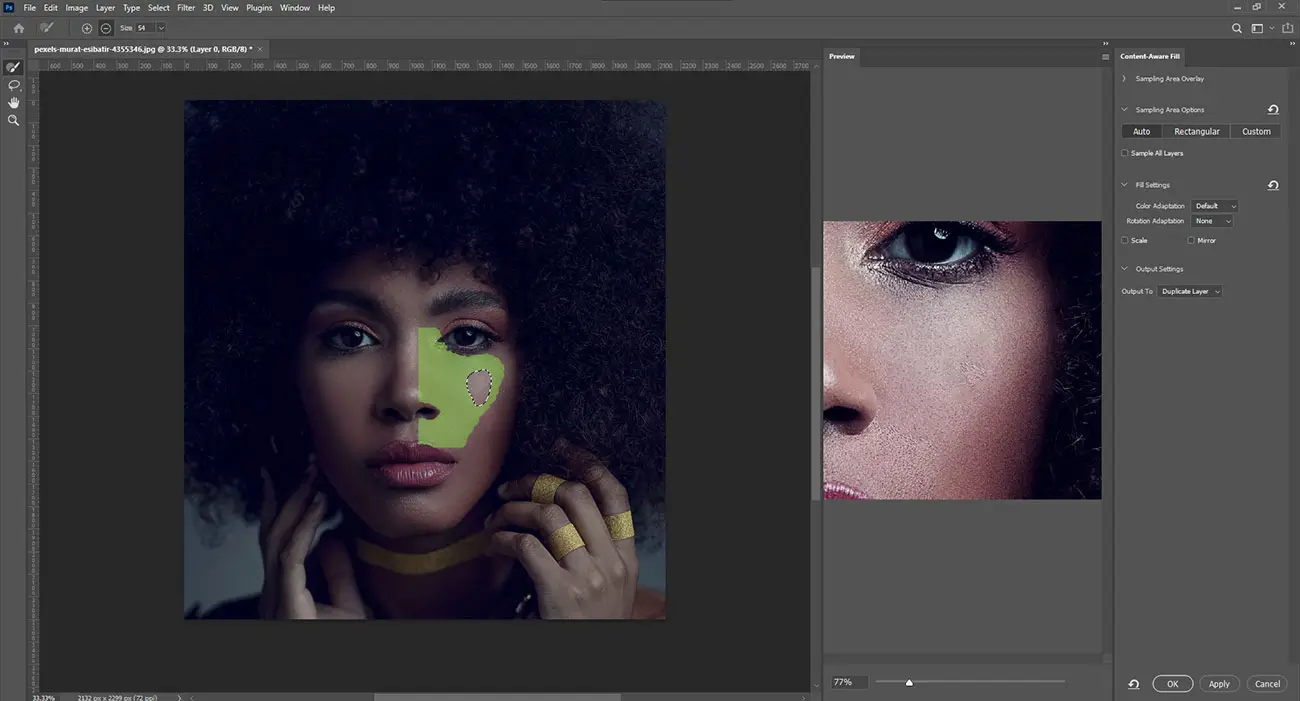
Hot spots are the brightly reflected highlights on the faces that make it look sweaty even when they’re not. Removing it digitally while maintaining a natural look on the face of the subject can be a bit challenging. The Patch tool is an ideal option in this case as it can help users to draw rough selections around the hot spots, and then drag them to a clear area. For this, you can use a new empty layer, and then, set the tool to Content-Aware and Sample All Layers in the tool options. Once you have erased the area, lower the opacity to slightly tone down the fix so that the highlight is partially seen through.
Get rid of stray hairs
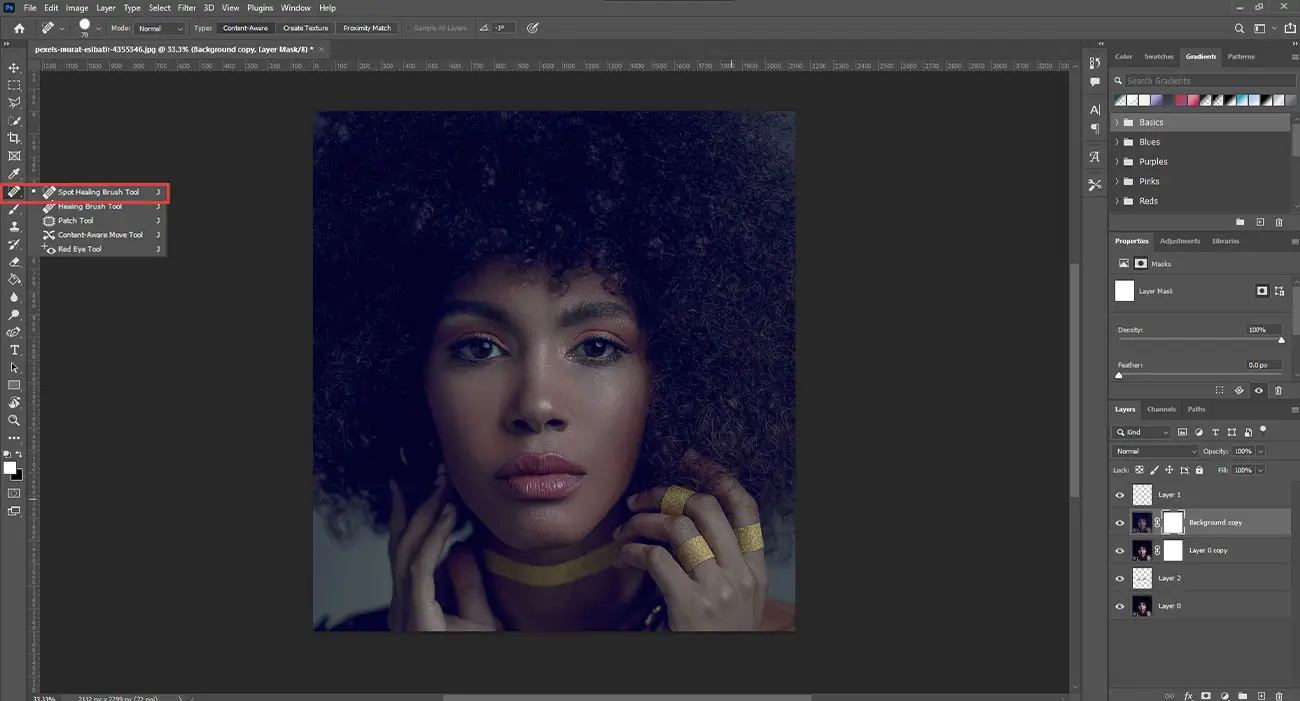
Getting rid of stray hairs might not seem very important, but it is helpful in enhancing the overall appeal of the subject. Another reason why most people do not care about this step is that there is no quick way of removing all the frizzy hairs at once. You will have to do it one by one. Although, it is a bit boring, it is essential if you wish to give a wow-factor to your portrait photos. Using the Spot Healing Brush tool can be helpful in this matter, but it can leave a smeared edge at the point where the hair and head meet. It is still not a matter of concern since you can use the Healing Brush tool or the Clone Stamp to eliminate the fuzzy hairs at the base. Once it is done, switch back to the Spot Healing Brush tool and paint for getting rid of the majority of the fuzzy strands. In case the background is of single uniform color, it is an advantage to you as you can simply Alt-click with the Brush tool to sample a color, and then paint it over the hairs.
Dodge and burn the face

The simple dodging and burning trick can help to add depth to the face of the subject. It not only works for portrait pictures but can also work for other types of images. For applying it to the images, hold the Alt button, and click on the Create New Layer icon. It will bring up the New Layer options. Name the layer ‘Dodge and Burn’ or something you like, and then set the Mode to Overlay. Check the Fill with a box to fill up the layer with a grey color. Now, click OK and you will see that a new invisible layer is created. You can either paint white or black on this layer for lightening or darkening of the subject’s face. Press B to use the Brush tool and 1 for setting its opacity to 10%, then paint black over the darker parts such as below the cheekbones to subtly darken it. To paint white over the lighter parts such as above the cheekbones, press X. Once you are finished with dodging and burning on the grey layer, go to Filter > Blur > Gaussian Blur and then, slightly soften the layer for blending the brushstrokes together.
Essential Tools for Professional Portrait Photo Editing
Besides learning the different tricks of portrait photo retouching, you also need to learn about the advanced photo editing software and tools that can take your editing to a whole new level. Surely, it will take quite some time to understand and use it appropriately for your projects. However, the result you get will definitely worth the time you are investing.
Healing Brush
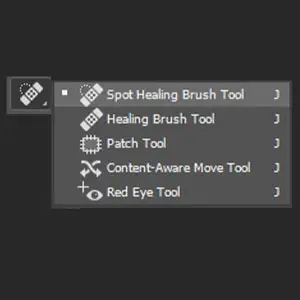
Instead of using a spot healing brush, try to use a healing brush since it will enable you the option of picking your source points. It is best used for correcting skin flaws like redness, pimples, wrinkles, etc. You can also use it to remove unwanted objects from the background.
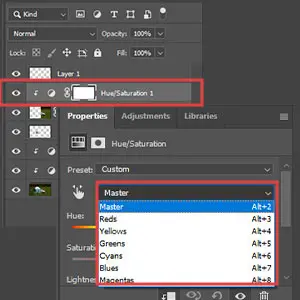
Layer Masks
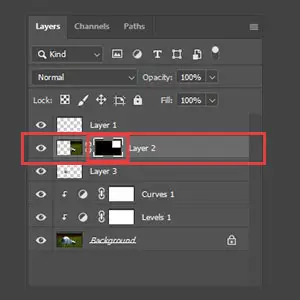
Use layer masks to edit or tone only a particular selection in the portrait image. It is even better if you use it with the saturation or hue adjustment layers. Different body parts such as hands, legs, and ears that do not possess the same color all over can be balanced by using it.
Presets
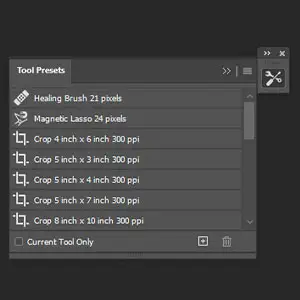
Presets are versatile tools that can provide a wide range of tones, colors, and other adjustments. It can also be useful in saving a lot of time. It is most helpful with repetitive tasks like editing a group of pictures having similar exposures or sharing the same time frame.
Selective Color
The selective color adjustment tool can be used to edit specific tones and correct different types of color cast in the portrait photos. It is mostly used with a layer mask and can help to achieve anything, starting from fixing uneven skin tones to the darkening of eye colors.
Gradient
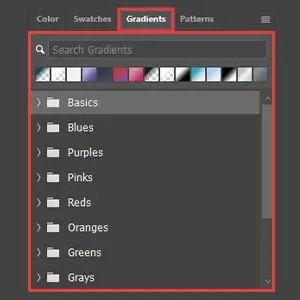
The gradient tool is critical and should be used moderately since it can be a bit overwhelming and change the entire look and feel of the portrait. However, when used appropriately, it can make the image look fresh and appealing by adding a spark of lively colors.
Since portrait photo retouching is a bit tricky, I hope that the above article will be useful to you for covering your basic as well as advanced project needs. Make sure to go through the tips and understand them first before implementing them in your projects.A few more quick tips will be to keep the brushes at 50 percent or below while applying the effects. Use bracket keys on the keyboard to change the size as per your requirements. And, remember that the zoom tool is your best friend just like an image editor who is proficient in delivering professional portrait retouching services. Also, do not overwork on fingers, legs, arms, and small curved areas of the subject as it might ruin the entire work.
If you are still confused about taking the work or think that it is a bit risky, then a safe alternative is to outsource your needs to the portrait retouching companies. However, make sure that the ones you choose are well reputed and are industry-based experts in offering photo editing services. By choosing the professional companies, you can rest assured that the outputs will be of premium quality and further enhance the value of your projects.