Making a name for oneself as an excellent professional among the myriad of companies that offer excellent digital photo enhancement services is never a walk in the park. However, it is not impossible if you know how to hone your skill set. One of the difficult tasks to address while one is practicing as a photo improvement services provider is to prettify an image taken at night. And that requires mastering the following tricks:
What is Image Enhancement?
Image enhancement is the procedure of digitally manipulating a photograph to improve its quality or appeal. The process is usually carried out with the help of photo editing software.
The common practices of photo enhancement include adjusting the brightness or contrast, manipulating color patterns, and using a filter to achieve certain effects. The different filter types popularly used are those that change a color image to sepia or black and white.
White Balance
White balance adjustment
White is undoubtedly an incredible color and in the night, no camera can judge it accurately. As a result, your snap would look uncertain and unappealing—something that can kill the very purpose of a photograph. Enhancing an image spoiled due to missed white balance is not an easy thing, but using various white balancing techniques and selective color balance correction tricks, one can certainly beautify the snap. Learning to do so can definitely make you one of the most sought-after digital image enhancement service providers.
Noise Reduction
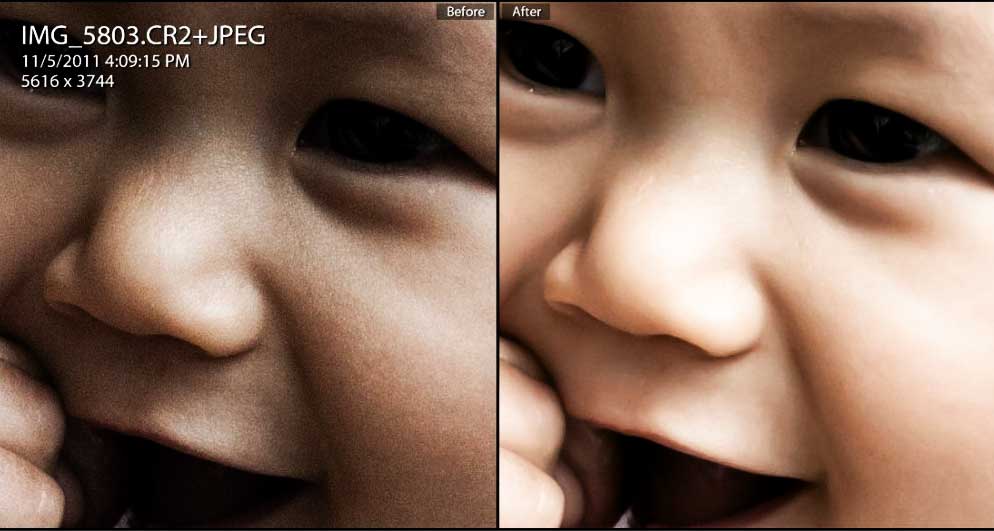
Photoshop noise reduction
One may try to solve the problem of low light using a higher ISO value but that can surely pose some problems of noise. As a digital image augmentation services provider, you will often be required to take care of the noise in many images. Adobe Photoshop provides numerous powerful tools that can help you carry out the task extremely well and with perfection. If you dream of a profession of a digital image editor, this skill is a must one.
Exposure and contrast correction
Contrast adjustment in Photoshop
Albeit having excellent tools and technologically advanced options in cameras, most of the snaps can always benefit from a little exposure and contrast correction. Sometimes, it can instantly transform a dull and lifeless image into a perfect image that everyone would love to have. Photoshop has a great array of exposure and contrast correction tools; make sure that you master them.
Sharpening and de-sharpening
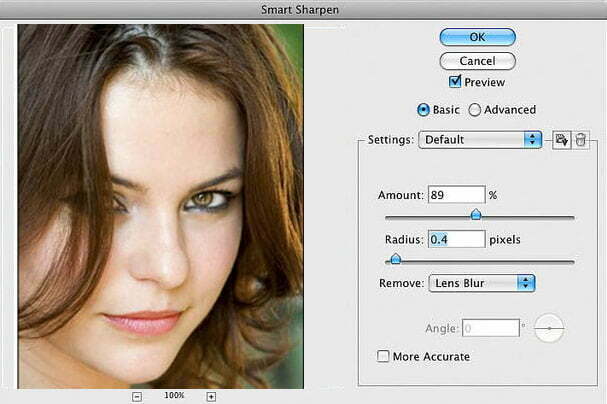
Photo sharpening in Photoshop
If you have worked closely with a digital camera you would know that most of the cameras do blur the edges of objects in the snap. It may not be desired by many people and they will seek a digital image manipulation services provider who can give a clean feel to the image as a whole. So taking advantage of the tools to sharpen can be a great addition to your skill set.
Healing
In Photoshop, you can find several healing tools. To name a few, there are two types of clone stamps in a separate palette: the healing brush tool and the spot healing tool. When it comes to the healing tool, several settings are available, and if you experience any malfunction or issue while working, check whether you have selected the normal mode.
Typically, most professional companies remove hot pixels before finalizing any night image for obvious reasons. Even when there are countless spots to fix, the spot healing tool is effective and quite easy to use. You may also think of the noise reduction option to deal with the hot pixel issue, but it increases the chances of blurring.
In case you encounter further complex problems pertaining to healing, you can depend on a lot of advanced photo enhancement techniques, like the Patch or Clone tool. In normal cases, healing tools are used to make the respective area appear, just as in the other image areas. At the same time, the clone tool finds its application when there is a need for duplicating a texture or removing obstacles.
Though completely mastering these tools definitely requires a great deal of perseverance and patience, it is always worth the effort for a budding digital photo enhancement services professional.


