Every now and then, we might have a need to combine images to enhance the look and feel. Not every picture we click is perfect. Sometimes, an image might have the right color and lighting, but the subject has his or her eyes closed. Other times, your subject might be posing perfectly, but there are animals or people in the background. However, these imperfections can be eliminated when you know how to merge photos in Photoshop. Yes! We said Photoshop because what can be better than using the most powerful photo editing software to carry out the task? Indeed, it would be great!
Adobe Photoshop is the most powerful and popular software when it comes to the editing of images, any version of Photoshop can be used for combining images. In fact, one of its key features is its ability to merge different pictures and produce a single exceptional photo. The technique is carried out with the help of computer software and need the exact overlapping of the images with different exposures to develop a high-resolution image. Sounds interesting?
Let us take you through the different methods of merging the images so that you can implement them for your desired use. This article will teach you the best ways to merge photos realistically in Photoshop. We recommend you use this software for the task since it is easier to achieve seamless output with it.
How To Combine Or Merge Photos In Photoshop: Step by Step
Below are the steps that can teach you how to blend images in Photoshop in 3 different ways. All three methods can be used to carry out the job. The first two methods are a bit easier as compared to the third one. The third method is usually divided into three different sections and is a bit longer. However, it is worth the time if you want to combine the images perfectly.
Blending Images in Photoshop – First method
Step 1:
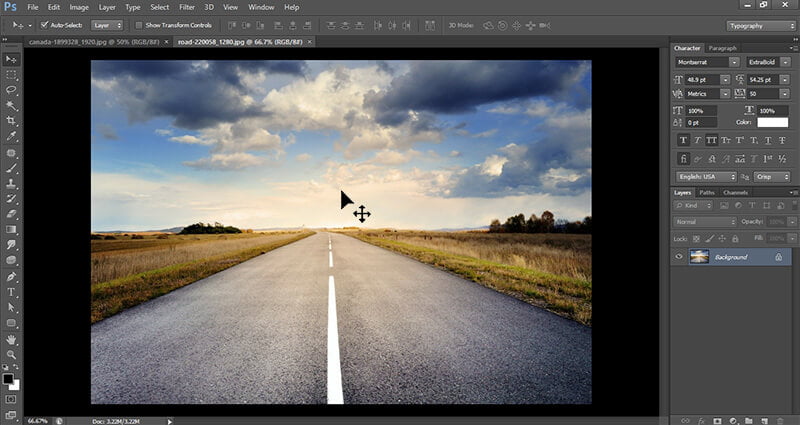
Open your Photoshop software. Click and press the mouse button or Wacom pen on the desired pictures which you want to merge with the other one.
Step 2:
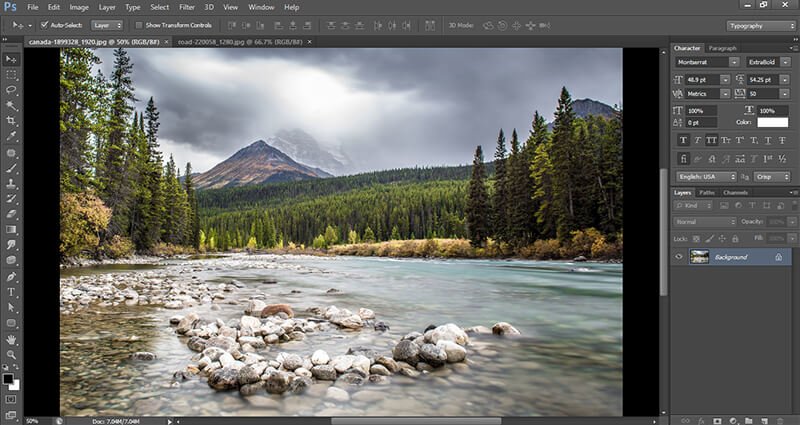
Go to the document tab for copying the photograph into it. Now, the document destination will appear on the screen.
Step 3:

Go to the new photograph’s top. Press the left button on your mouse while holding the Shift key and release.
Step 4:
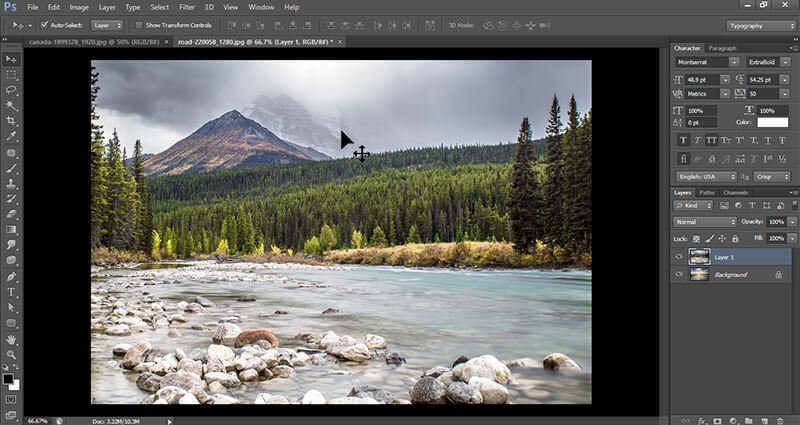
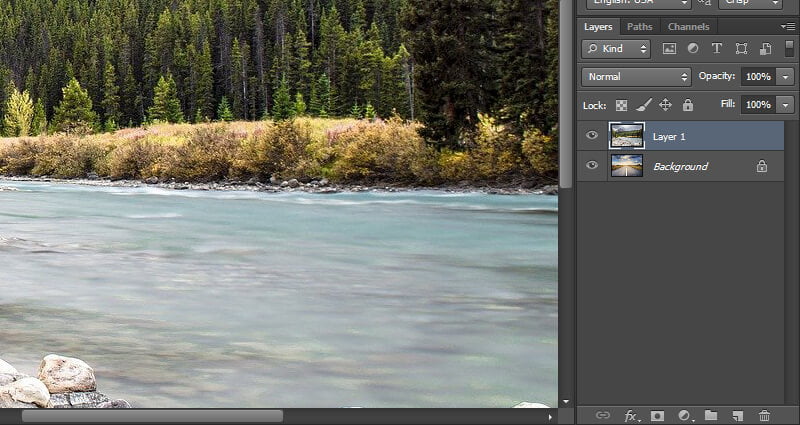
You will find both images on each other’s top within the two layers and are ready to be combined.
Blending Two Images in Photoshop – Second method
Step 1:
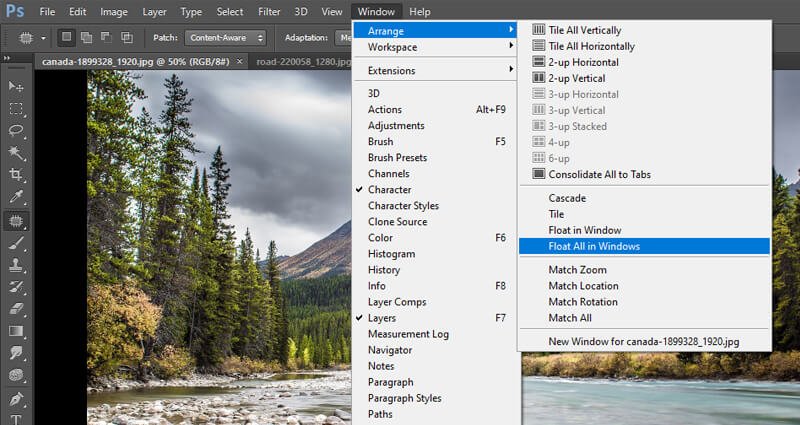
If you are using MAC, go to the menu window and select Application Frame.
If you are using Windows, go to the menu window, select Arrange, and then click on Float All.
Step 2:
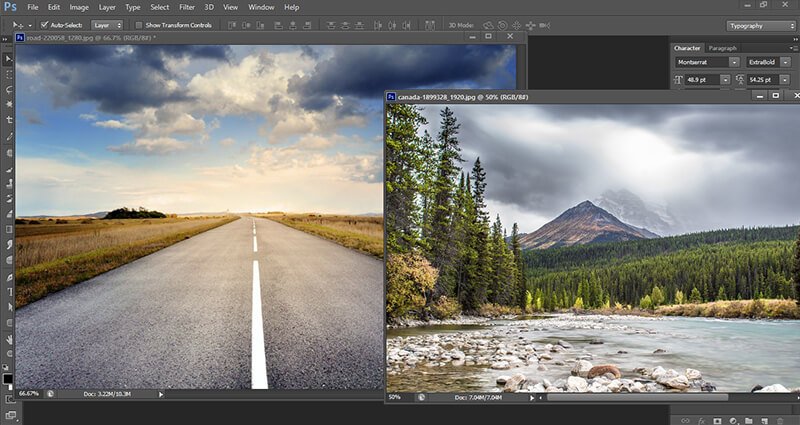
Turn off the Application Frame once you see that document windows are floating.
Step 3:
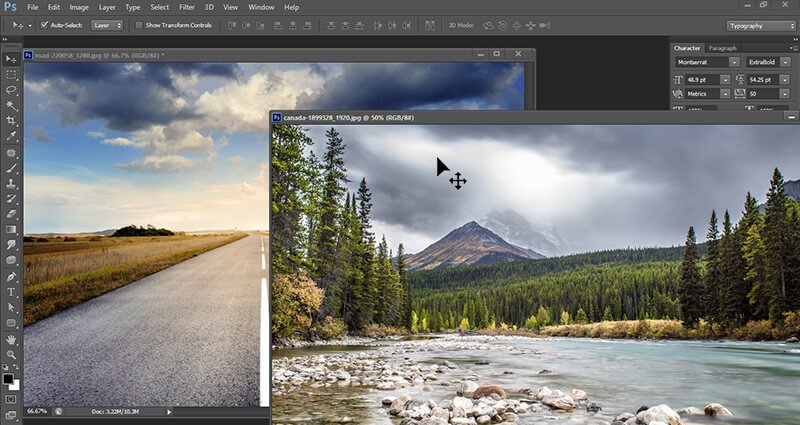
Now, take the desired picture and drag it on the other one to combine.
Manually Blend Images in Photoshop – Third method
Step 1:


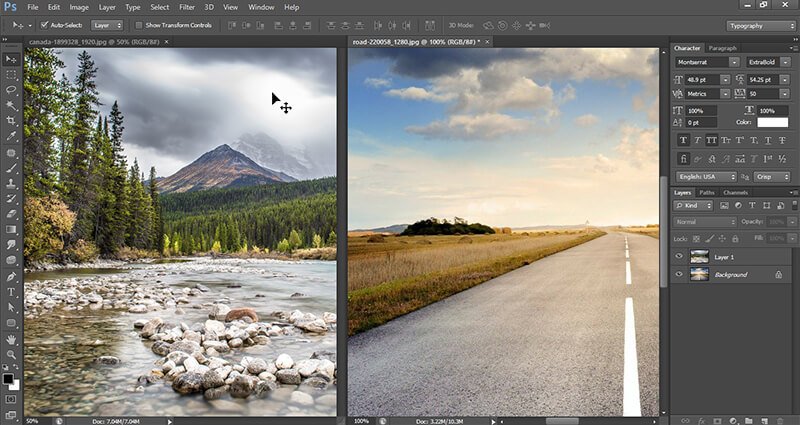
Select Window and then Arrange. You will see both documents appear side to side.
Step 2:
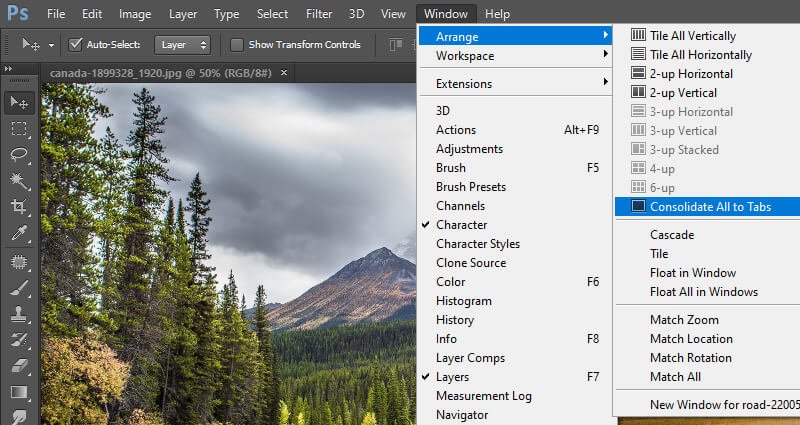
Click on the one image and drag it. Now, move your cursor to the other photo and press Shift. Finally, release it. It will lead you back to the Arrange option. Now, Consolidate the tabs. You will go back to how it was before.
The next step is to learn how to make a quick composite. Wondering what is composite in Photoshop? It is a process where you combine more than two pictures to form a new one
How to Create Composite in Photoshop?
Here’s how you can create a composite real quick.
Step 3:
Start with combining the two pictures by using step 1 and 2.
Step 4:

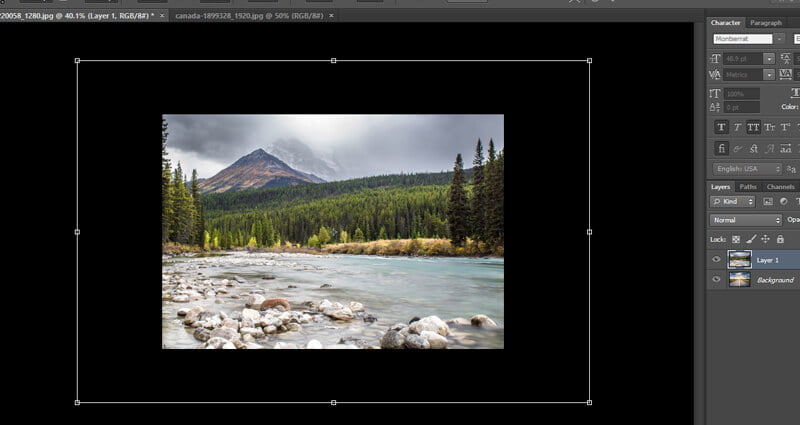
Press Ctrl/ Cmd+T to bring Free Transform. However, you will see that pictures look larger, which makes it impossible to find the handles. In that case, try zooming out to see the handles or you can press Ctrl/ Cmd+0.
Step 5:
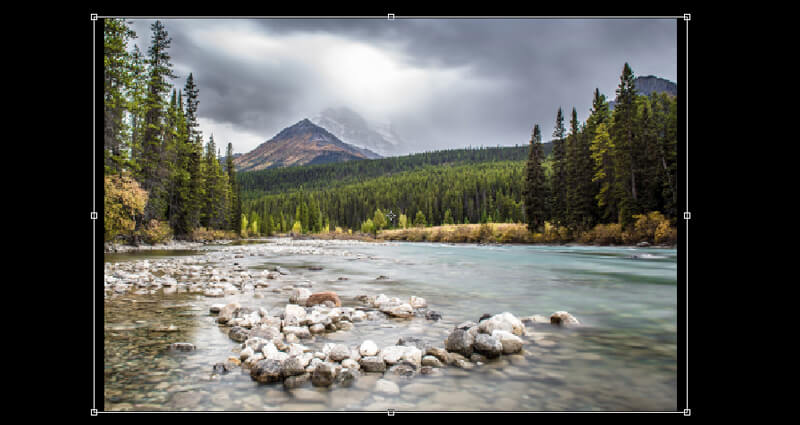
Move your cursor to the corner. Press Shift and drag it. Make sure to drag proportionately. Alternatively, you can also press Option and drag it from the center. Now, click Enter.
Step 6:
Combine the pictures together. Now, choose the Quick Select Tool and drag on the desired area to make a selection.
Step 7:
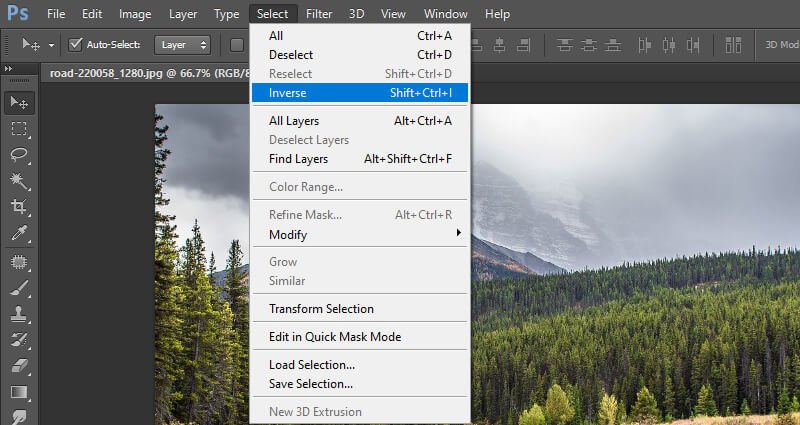
Now, click on Select and then, choose Inverse Selection. An alternative way is to press Ctrl/ Cmd+Shift+I.
Step 8:
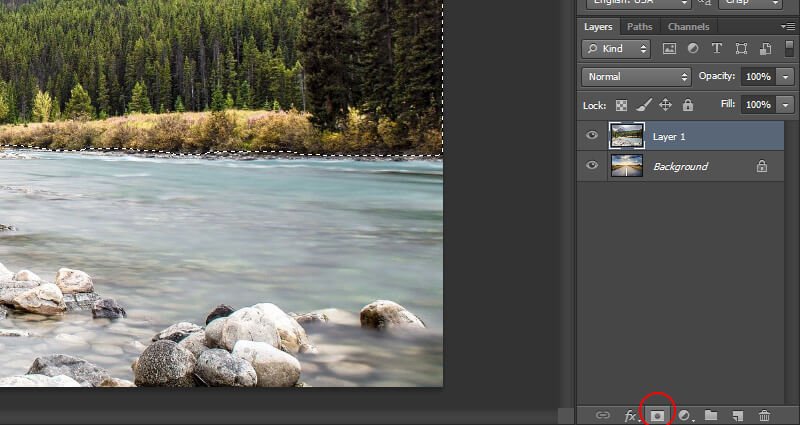
Go to the Layers panel and select a new layer mask icon. It will help you to set aside the selected area while masking out the area which is not selected on the layer’s top.
Step 9:
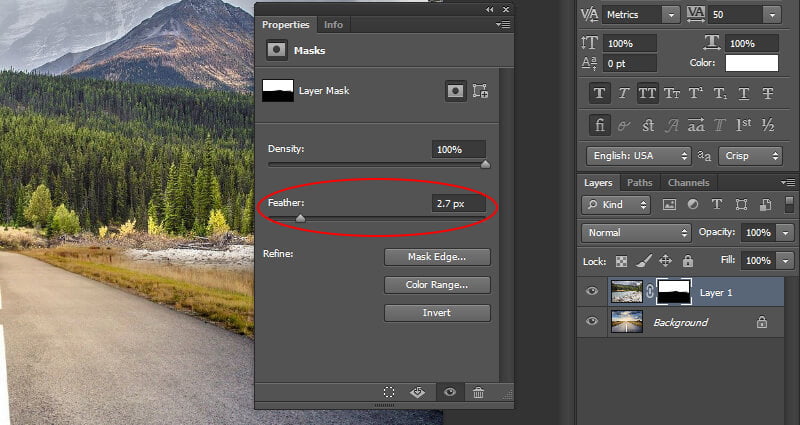
You might get hard edges on the photograph. For fixing it, select the layer mask and go to Windows. Now, click on Properties and choose a feather slider. For softening the edges, you need to push the feather sliders a little.
How to Match Different Colors on Layers?
If you see that the colors are not matching, then do not panic. There’s a little trick for that too. In this example, you can see a warm color cast and a blue color cast on the image. Follow the below steps to eliminate it.
Step 10:
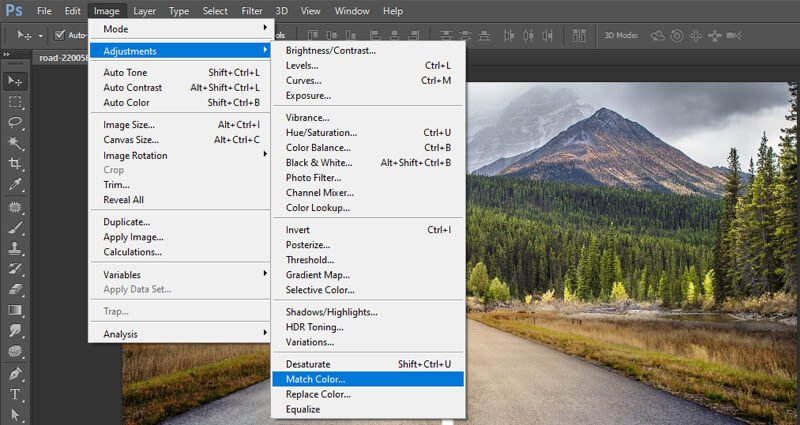
Go to the background of the desired image that you want to change. Now, click on Image Adjustment and go down to select the Match Color option.
Step 11:
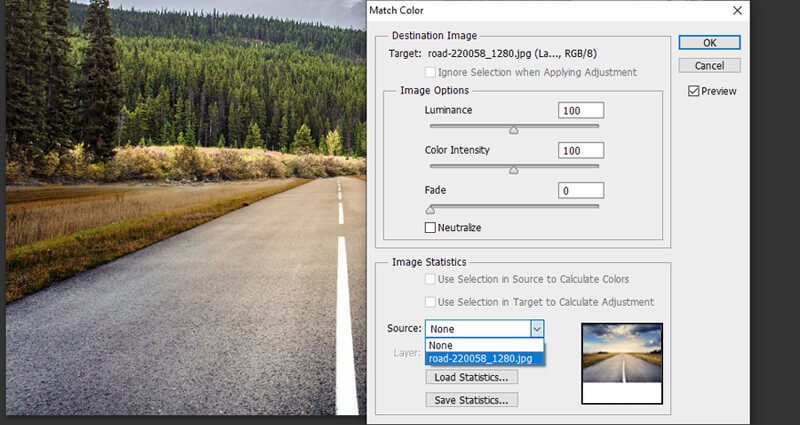
Select the desired source. The source you have selected will act as the working image.
Step 12:
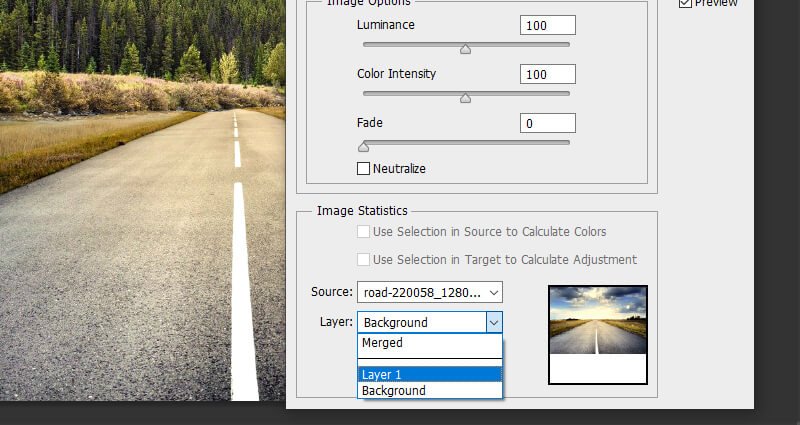
Select the desired layer where you want to get the colors from. However, understand that the layer you are going to use now will become Layer 1 in your image.
Step 13:
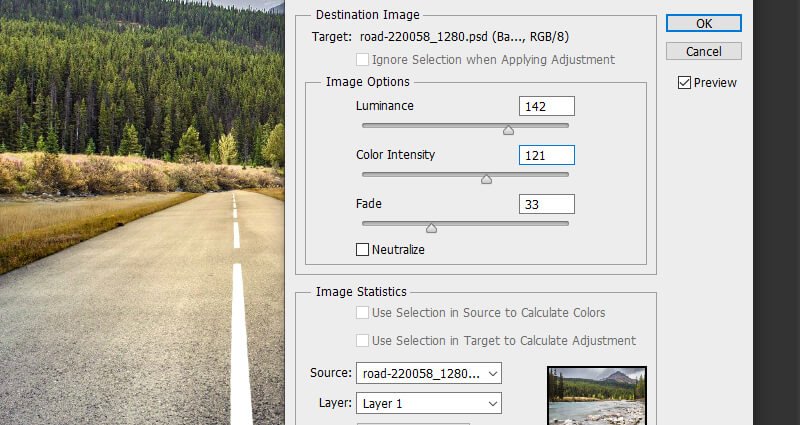

It will mainly apply the color from the one you have chosen to the other layer. When applied, it might cast a strong color at first. However, you can eliminate that later with the help of the Fade slider.
How to pull the layers together with colors?
But, what you have to do if you want to combine the different layers together with colors? Below is a small trick that you can utilize to carry out the work with perfection. It will help you to combine things images together with different layers having various colors.
Step 14:
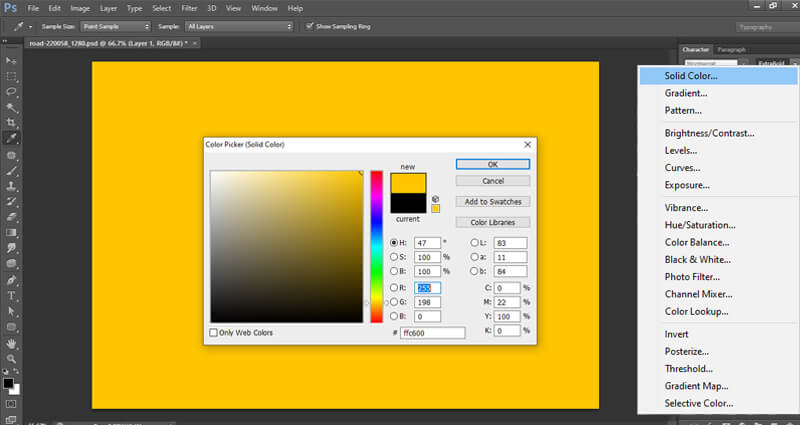

In case you are looking for the best way to pull together the layers with different colors, go to the Adjustment layer first. Click on it and select a solid color of your choice. Here, we have selected a kind of an orange color.
Step 15:
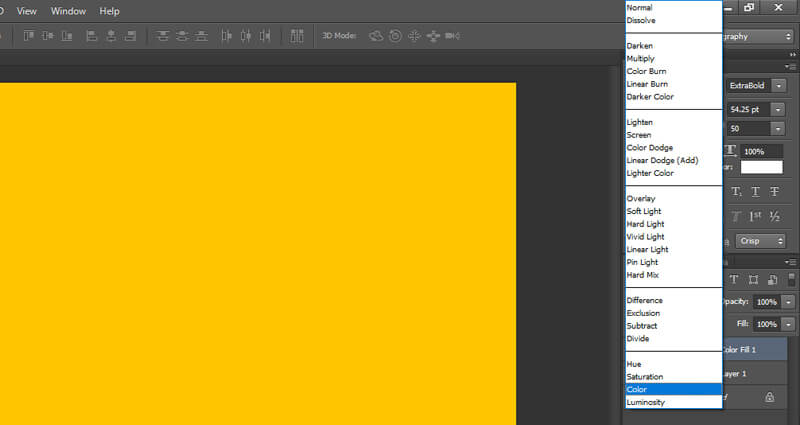
Now, go to the color blend mode.
Step 16:
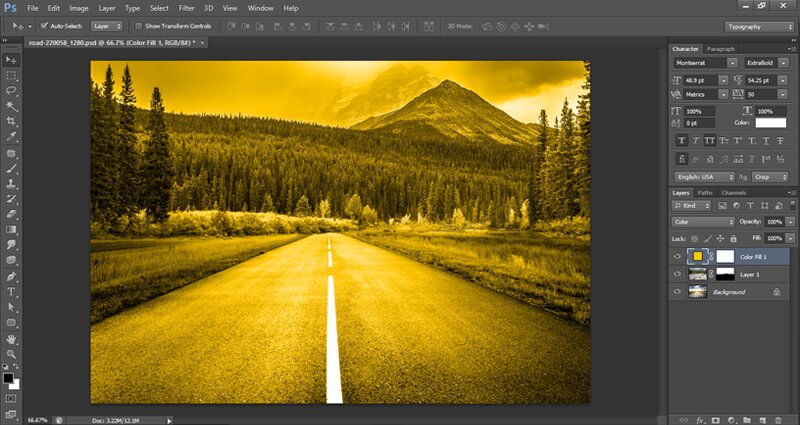
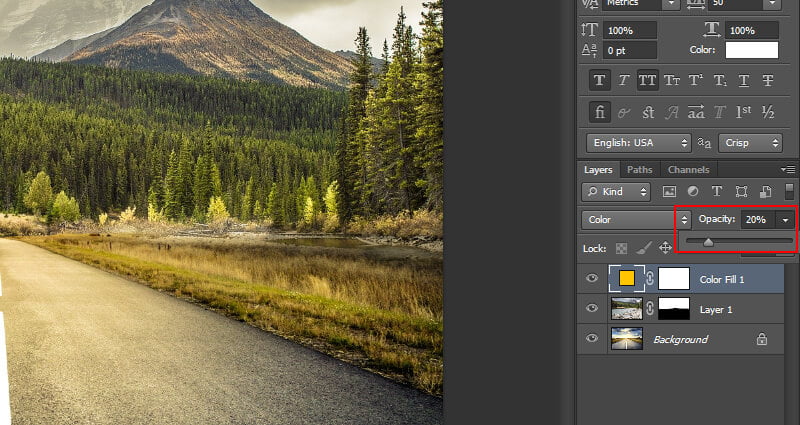
Once you have reached there, pull down its opacity to the maximum extent possible. It will drip down the color on both the layers and combine them together to give a good appeal. Finally, you have successfully combined the images by giving it a perfect look.
Useful Articles – Color Change in Photoshop
In addition to using the above steps to combine photos in Photoshop, make sure that you take multiple snaps. Since it is rare to get good images in 2-3 clicks, take more number of pictures than you think is sufficient. The technique is even more beneficial in the case of real estate photo editing. It can provide you more options to merge images and produce stellar quality results. Combining pictures is a common practice implemented by individual photographers and the companies offering photo editing services. So, if you also belong to the same field, learning it would be an advantage to your work.