Editing is an integral part of getting desired photography outcomes as editing can make even ordinary pictures look excellent. Every photographer has to opt for photo editing once his/her photoshoot sessions get over. Before showcasing their pictures to the world, it is highly important for photographers to get their photos professionally edited. Various photo editing styles can be followed or you can even stick to your own signature style. In this article, you will get to know about the different editing types that are popular and also get some tips to find your style of editing.
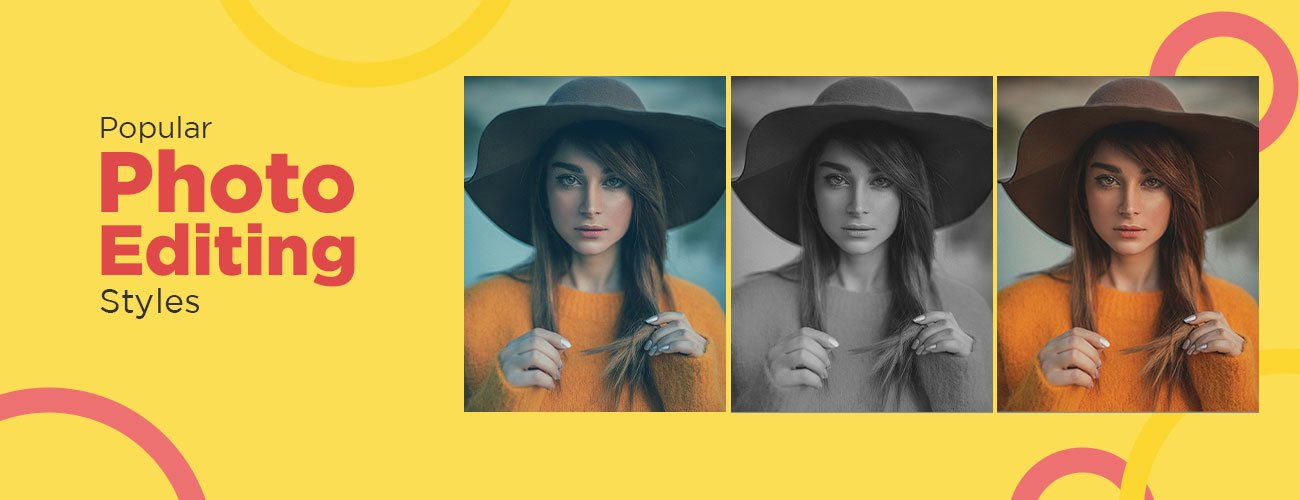
Popular Photo Editing Styles that you can use
Here’s a list of popular photo editing styles for your reference:
-
Matte Look
Adding a matte look to the photos is considered one of the popular photo editing styles. The best way to achieve this look is by adjusting different curves with photo editing software. The matte finish can be added to pictures that have a dark, moody, washed-out, or vintage look. Because of its versatility, it can also be used for all genres of photography, be it street, landscape, or casual.
-
High Contrast
If you like to provide a dramatic and edgy look to the photographs, then try it by increasing its contrast. It can be applied to both black and white as well as color images. By adding a strong contrast and dark shadows, you can make an image look graphic. However, apart from increasing the contrast, you also need to pay attention to color, vibrancy, or saturation. To achieve this, brighten the whites and darken the blacks even more.
-
Clean Edit
It is a basic editing style that is used to clean the image from imperfections. Here, you need to work on color, temperature, clarity, sharpness, etc. The main aim of using this style is to make the pictures look natural and authentic. Go for this style if you want your photographs to project a classic feel.
-
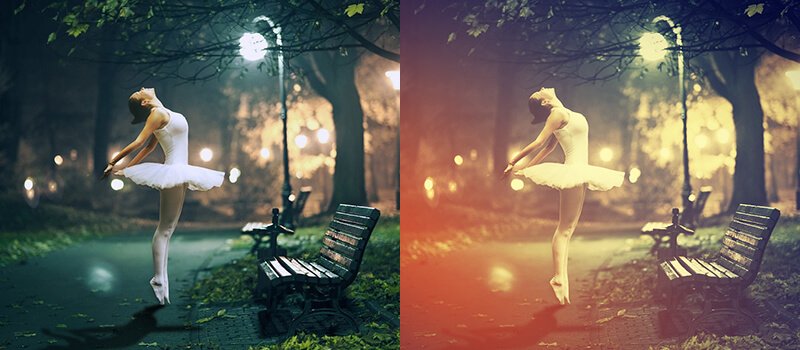
Dark & Moody

If you are bored with creating images that are cheerful and bright, then here’s another alternative that you can try. Go for a dark and moody look to instill a different feel in the pictures. The two important elements in this style are color and highlight. You can also go for a graphical approach for image composition. You can use this photo editing style for portraits, still life pictures, etc.
-
Warm Black & White
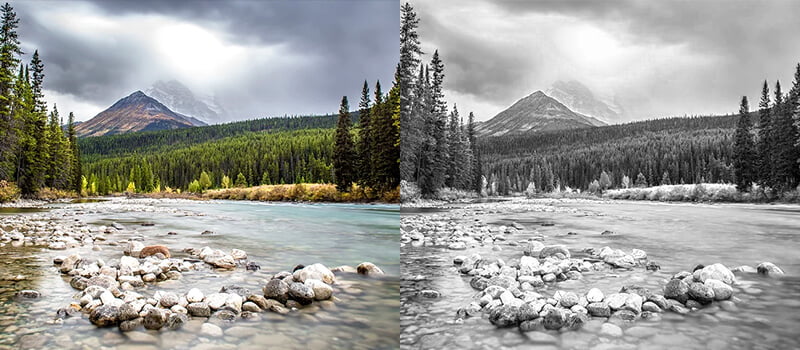
Everyone is quite aware of a black and white photograph. But what does it mean when it means to a warm black and white image? It is a type of variation which involves low contrast and a warm tone to instill a subtle look to the photographs. You might also have to tone down the highlights a bit while brightening the shadows. Black and white photography always remains classic, but by adding a soft and warm feel, you are giving a hint of casualness. Try implementing this style while creating detailed images of landscapes or casual portraits.
-
Damaged Film
The damaged film editing style is the best option for those who want to instill a colorful and funky look into their images. This look was often seen in earlier times when the film reached its expiry or had undergone light or heat damage. However, while using this style, the results can be unreliable. If everything goes well, the images will look beautiful with colored streaks and scratches. It might even create a feel of the urban settings. It is best used for portrait photography.
-
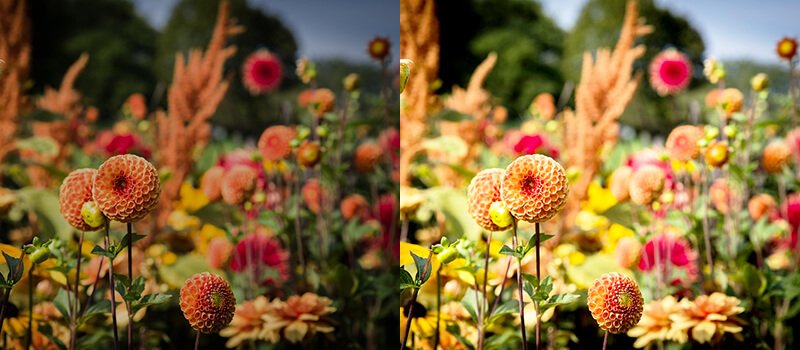
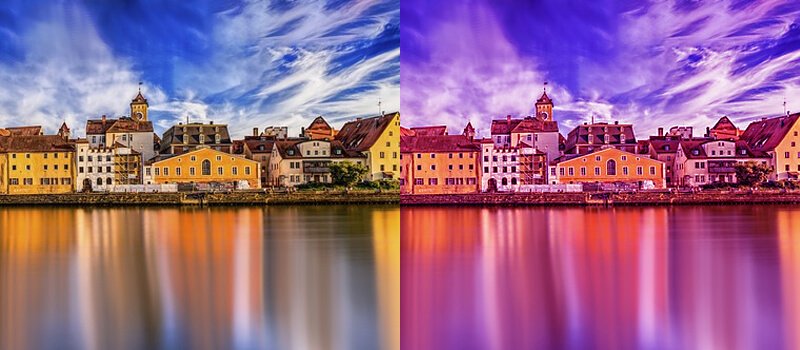
HDR Look
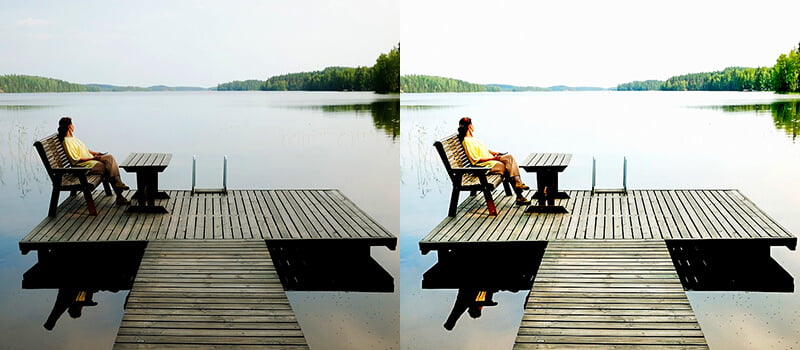
In high dynamic range images, you need to maintain a range between the highlights and shadows. To achieve this look, you need to keep the highlights low while brightening the shadows. Also, take care of the noise in the photographs. Adjust it, if needed. It can use this look for elevating the appeal of your architecture and landscape pictures.
-
Black & White Mid-contrast
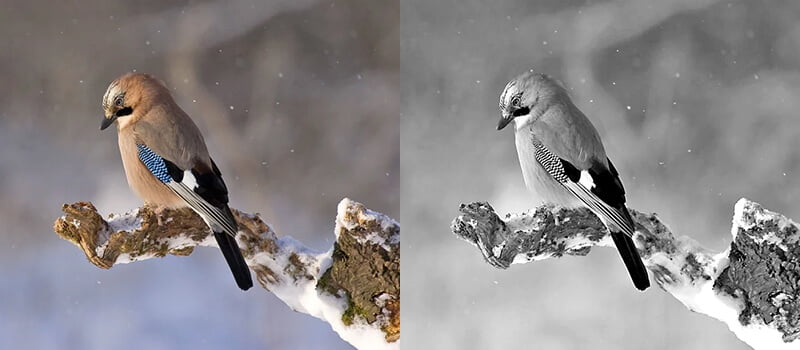
Black-and-white photography is another good way to make a normal photo look interesting. However, make sure that you adjust the contrast to a medium level while manipulating the blacks, whites, or clarity. If you add too much contrast, it will make the images look harsh. So, go for a classic and clean look. This style is best applicable for wedding, portrait, or event photography.
-
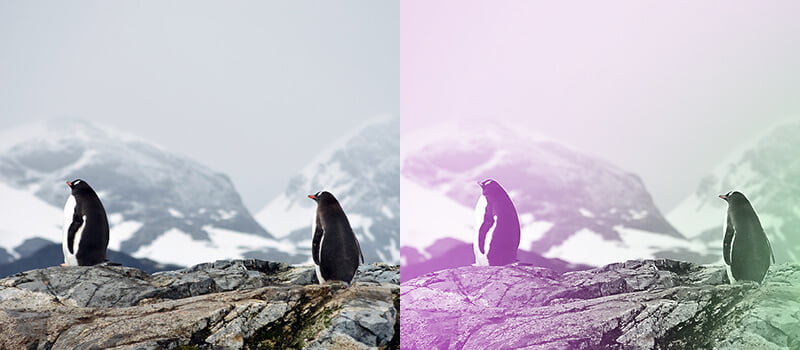
Cross-process
This style is suitable for artists who love experimenting with colors. In earlier days, photographers used to develop films in chemicals. Sometimes, the chemical changes resulted in the creation of unusual colors that were fun to look at. You can create such types of looks with the help of digital cross-processing. It can be implemented on still life photos, natural or urban landscapes, and portraits.
-
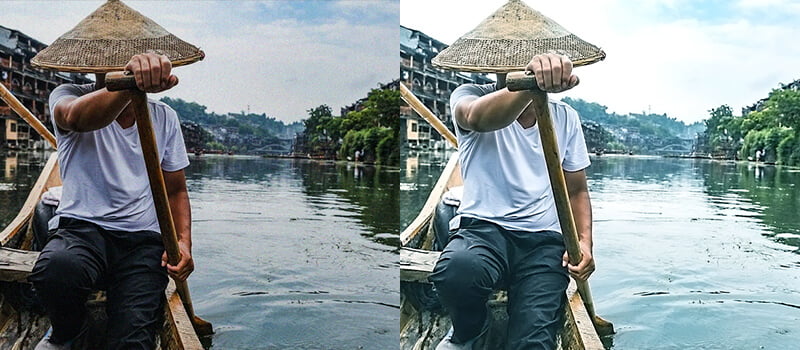
Vintage Look
This editing style draws inspiration from the film used in the ’70s and ’80s. These looks might be having a heavy grain, a slightly matte finish, and washed-out colors. It is mainly intended for adding a nostalgic feel to the photography. You can apply this style to outdoor photographs or casual portraits. If you wish to give your photographs a more vintage look, then use white borders just like what you would find in a Polaroid photo.
How to Choose Your Own Photo Editing Style?
Now that you are aware of the different photo editing styles, how to choose a style that will suit you and your audience the most? Every photographer needs to choose a unique style of editing because that’s how they will stand out in the fierce competition. Nowadays, achieving technically perfect images has become easier with different photo editing services out there. However, if you wish your work to be distinctive, then you have to think beyond meeting the technicalities. Apart from that, you must also use a creative and unconventional style of editing.
Here are some tips for photographers that can help them find their signature style of editing.
-
Know yourself
To know yourself, you can first begin by looking at your surroundings. You may not realize but your surroundings can speak a lot about you.
Look at your room and see how it is decorated. Did you use pastels or have you painted the walls bold? Take a look at the different furniture pieces that you have used. Is it a classic or a modern piece? Do you keep everything organized or are you more of an eclectic person? Take a look at your closet too. See the type of clothes that you like to wear. Do you like trendy items or stick to the traditional ones? Do your clothes have cute floral prints or are they bright and bold? Jot down your answers and you will get a good idea of what you like and what you don’t.
-
Check out your desktop
Everyone likes to save their favorite pictures as their desktop wallpaper. So, check your gallery and see what type of images you would like to save. Do you like floral, nature, or wedding images more? Now, go through your Facebook, Instagram, or favorite blogs. See what type of photographs catch your attention and take a look at them. Now, make a note of the different elements that hold your interest. Is it the light, shadow, color, connection, or composition? See what you are personally attracted to as well.
Look at the picture and think about whether you would have created it in a similar manner or if it should be different. If it were different, what are the various elements that you would have added to it? Answering these questions will help you find out your personal strengths and weaknesses.
-
Creating a portfolio
Create a portfolio and add all the images that you like. Look at them and try to notice your working pattern. Once you have discovered your style, you will be able to realize your efficiency and mistakes as a photographer. It can act as a major factor in improving your artistic growth.
-
Self-acceptance is the key
Understand that there is always room for improvement when it comes to art. So, embrace your weakness and try converting them into strengths. Everyone is unique and has different experiences in life. You can use it to your advantage and combine your humor, personality, or intelligence with the talent to create individuality in the art. Apart from that, you can also ask your family and friends what they like about you and what they think of you as a person.
-
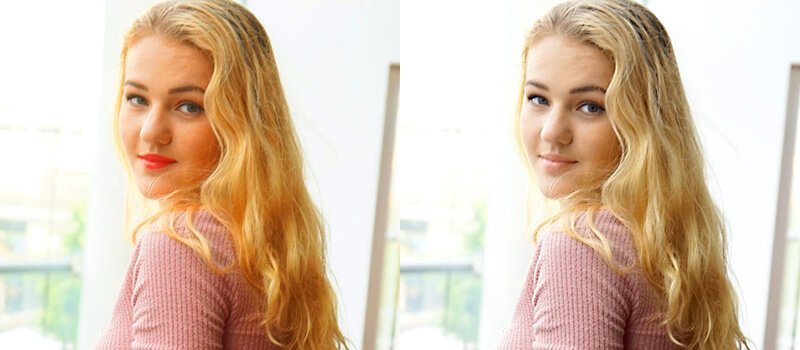
Make consistent edits
You will find many photo editors online. Choose one and take time to practice and learn how to use it. One of the best tips for editing is to learn to maintain white balance. Master the use of skin tones to give a natural look to your subject. Using the right tones will help to beautify and improve your photography. Watch image enhancement videos if possible. You will find different editing tutorials uploaded by talented artists. You can consistent edits to your images. Purchasing presets is also a good idea unless money isn’t an issue for you.
-
Take a break from social media
If you spend too much time looking at other people’s work, you will spend less time improving your own. You might also get diverted by comparing your work with others and feel bad. So, take a break from social media every once in a while. It will help you to clear up your mind from other people’s ideas. Use your creativity to create something for yourself. Experiment, make mistakes, and learn from them. Eventually, it will help you to find out your own editing style.
How to create photo editing styles?
You can create a photo editing style by making three vital modifications to the photos:
The photo editors use these popular mixes for their images more often than other forms.
How to create images with these editing styles?
Can you implement these photo edits with a simple editing tool? Or is there a necessity to go for specific software?
Well, you need some specialized software to do it.
Software Recommendations
In general, Luminar, Adobe Lightroom, Skylum, and Corel PaintShop can help you achieve different editing styles. But if you want quality photos, then Affinity Photo or Photoshop should be your choice.
The main idea of this article is to make you aware of the different photo-editing styles that are still popular. You can either select any style that we mentioned or you can create your own style. If you are a beginner, it may take a while to find the right photography editing style. However, we do advise you to keep experimenting. Gradually, you will see that it will not just improve your skills as a photographer but will also make your work stand out from the crowd.
The photo editor comparison that we have engaged in over here must have offered you useful insights into the functionalities and best features of some photo editing software in free-to-use mode. Go about capturing images that catch your fancy and editing them with flair in any of these image editors to achieve spectacular results.


